|
From 2014 94 hr
Jan 6,, 2015 2.5hr
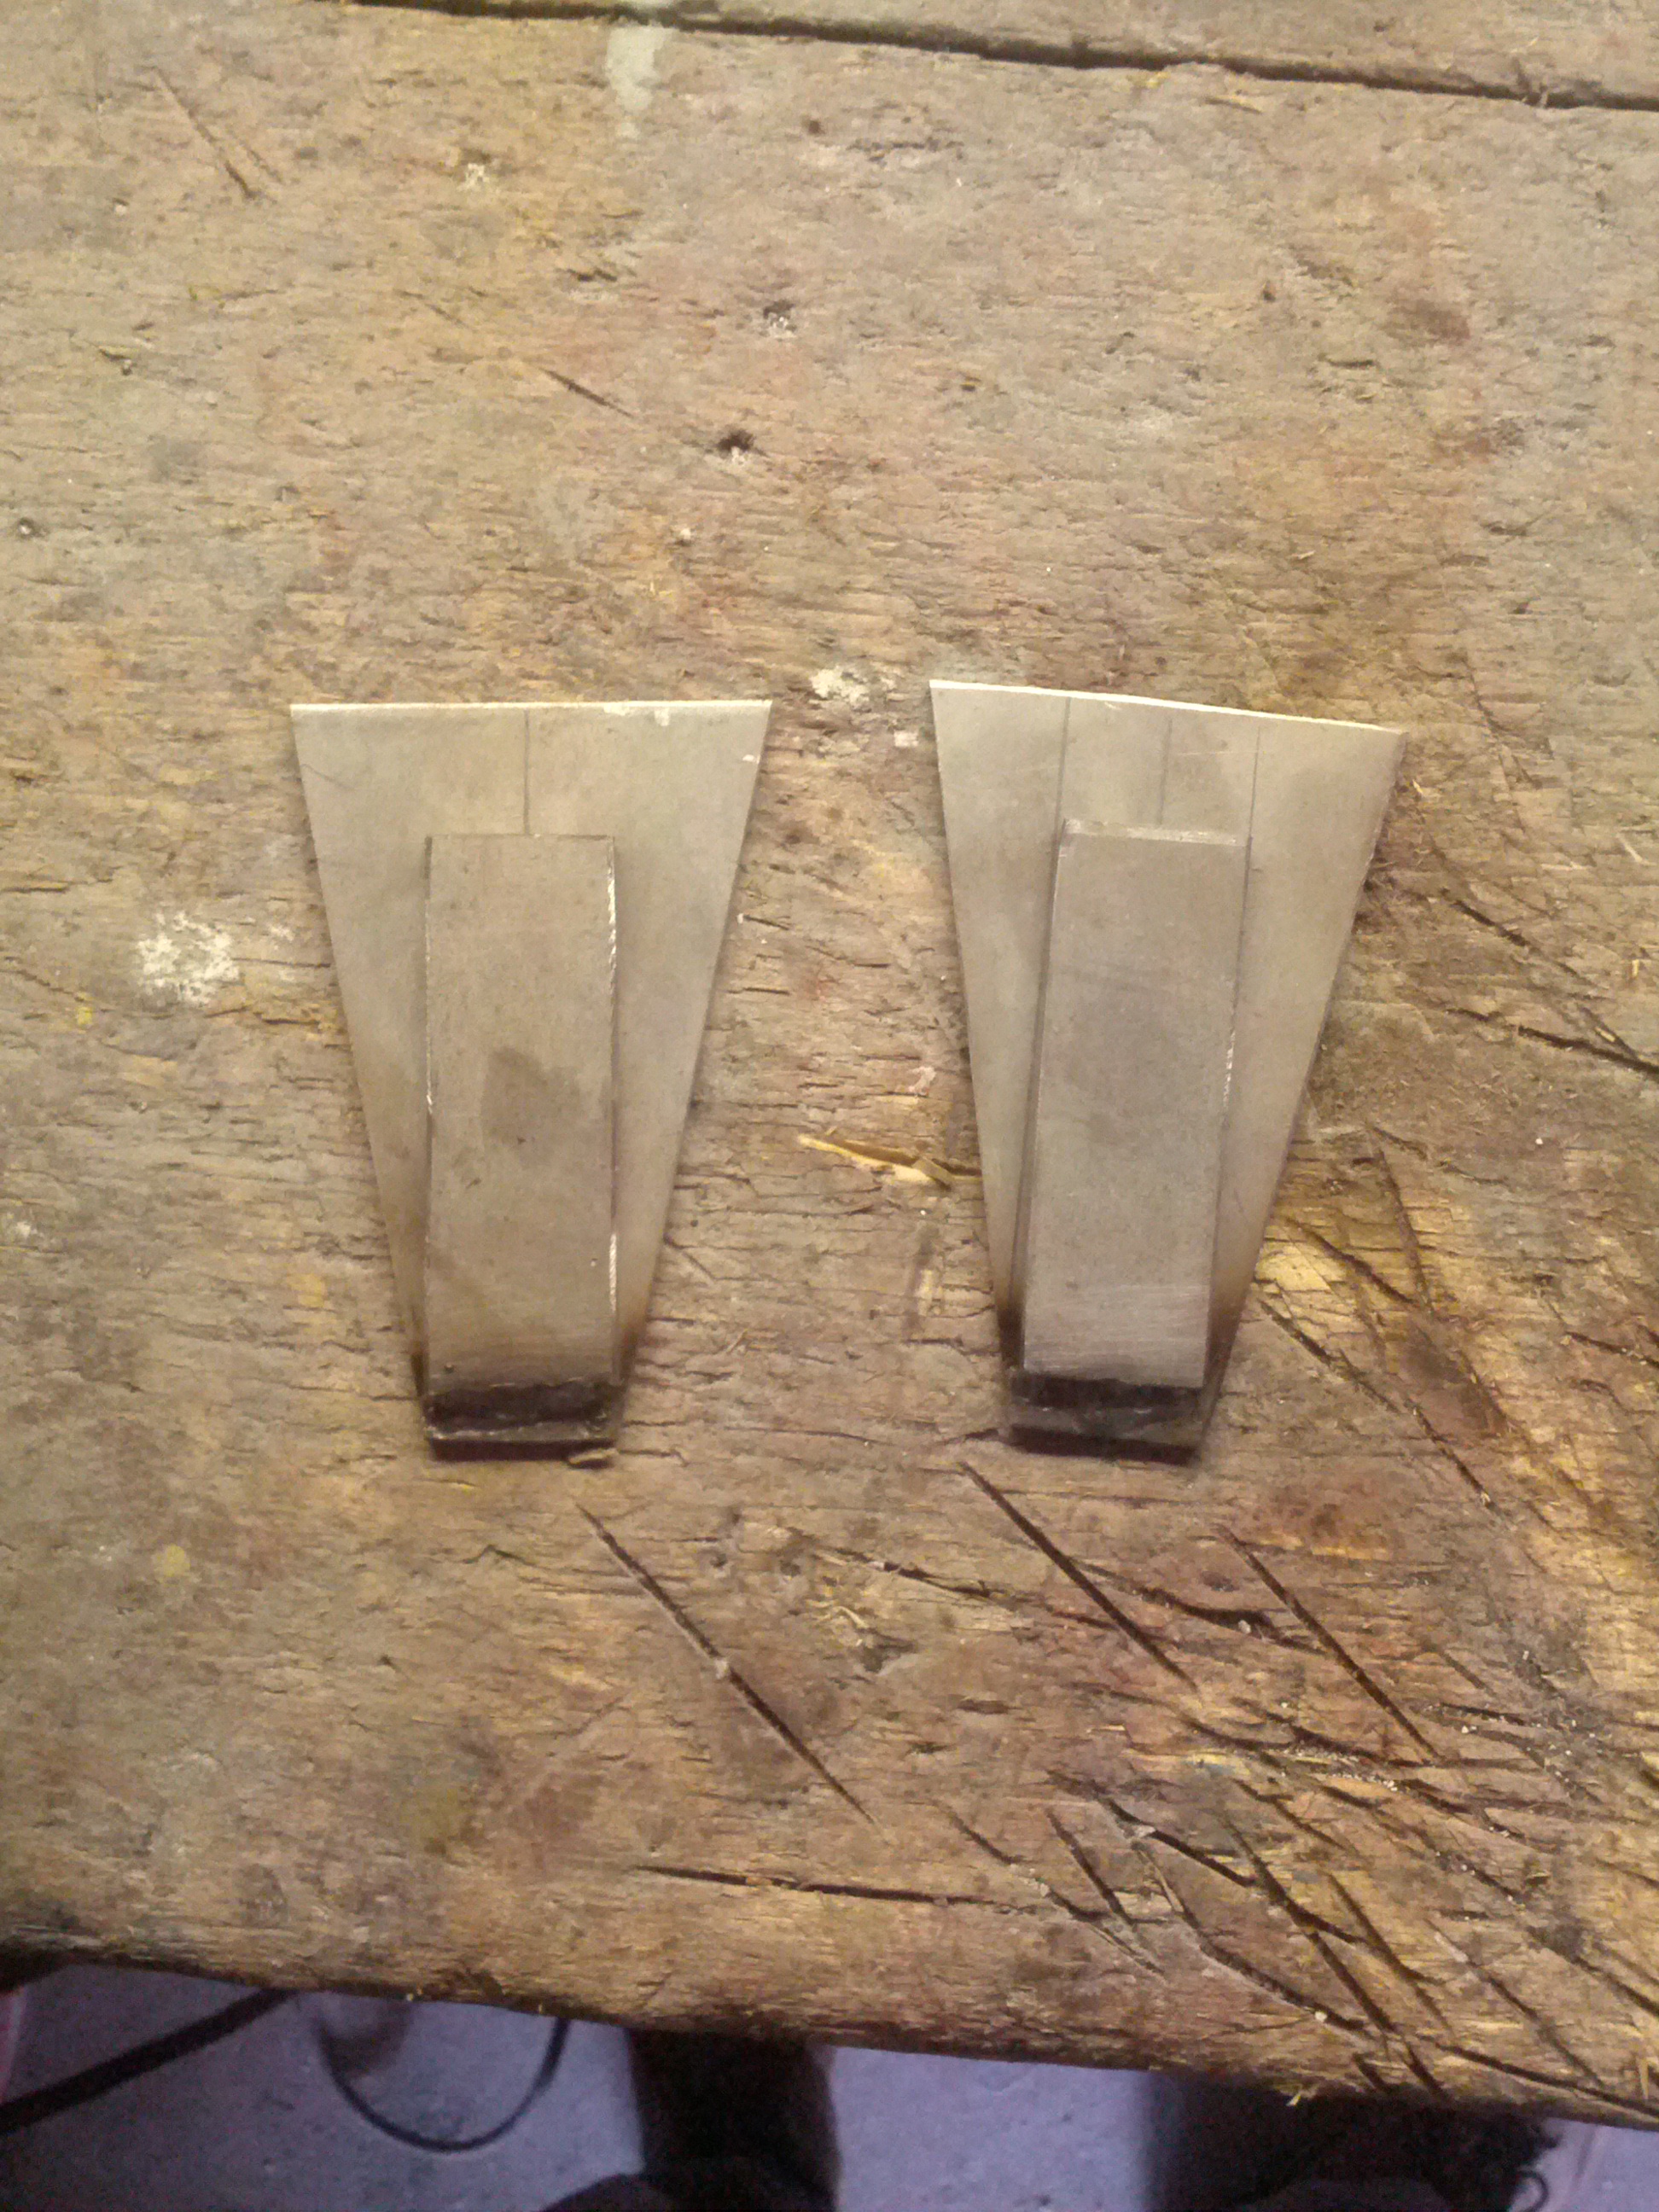
Started making sheet metal break 2.0. Collected material to make up the
bender. Started on the base, as some of the material is short so had to weld
them up to make up full lengths. Make up the 2 side pieces and welded
Jan 7, 2015 2hr
Continued on with the break. Could not find hinges that would clear the sides
so had to make small spacing pieces and weld them up to the hinges in order
to clear the base and tilting bar. Welded up hinges to base and drilled and
tapped upper cross bar to hold and pressure bar in place.
Jan 8, 2015 2hr
Finished of sheet metal brake 2.0. The thing is huge and heavy. All I have
to do now is bend up the aluminum sheet and make up the tank now that tank
is resized and fit better and the brake is made up to handle the 3 foot wide
sheet.
Jan 9, 2015 4hr
Had first run at bending some of the fuel tank panels on bender 2.0. Not
sure if its the material or the thickness of it but it sure is not as easy
at I had thought. Test bend of scrap 6" wide 0.125" aluminum was fairly easy
but when it came down to the 2 foot wide it proved to be bit harder. Bender
2.0 will need to have 2 extra back legs welded to it as the base was
twisting during the bends and the handle will have to be reinforced as it
started to bend as well. Any who... cut down back portion and bent it up to
shape. Also made up back plate for the tank.
Making up the back plate it sure would had been good to have press
rather then break as it would allow for bending on all 4 sides rather then
just 2.
Jan 21, 2015 2hr
Had second run on bender 2.0 forming the 4 foot long part of the tank.
Knowing that the handle was bit short when the back end of the tank was bend
and it was deflecting during it. Had longer handle welded n budding under
the shorter original one using 1.5x1x0.120 tube about 5 feet long.
Marked down a sheet of 4x3 foot 0.125" aluminum sheet same as the first part
to dimensions needed to fit with in the front part of the tunnel. Made a
first bend and at the end when trying to make sure its 90' bend couple welds
snapped around one of the hinges. Not noticing, re-aligned second corner
and started bending where remaining hinges got pulled off from the base.
Forces introduced on the 4 hinges are large as I had to jump on the bender
during the first bend which I guestimate was around 500lb of force to bend
the 4 foot wide sheet. Had to re-weld the hinges back to base and to make
sure the hinge was welded around the pin to corresponding base and tilt
part.
Re-aligned the semi bend edge and finished bending.
need to trim down on the second part and weld it together, but first need to
make inserts to keep sides pulled in their right location with contour to
fit inside the tunnel.
Jan 23, 2015 2hr
Did a bit of trimming on the long part of fuel tank. Starting to think that
going with aluminum for the tank may had not been the best option and should
had gone with stainless steel as it would not rust, it would be easier to
form and be welded at the garage and not have to worry about having it TIG
welded.
Jan 27, 2015 0.5hr
Put a light coat of plaster on headlight plugs. Really need to get them to a
proper plug stage so that molds can be pulled from them
Jan 28, 2015 3.5hr
Sanded down headlights from last time, Will have to make a better bumper
curvature template as the angle does not seem to be matching the headlights.
Trimmed down mid joint on wider rear part of the tank. trimmed down sides
and shaped front of longer part of the tank.
Jan 29, 2015 1hr
Build up leading edge on headlights.
Feb 1, 2015 4.5hr
Bought 4sq ft of 0.120 sheet for brackets etc. and also 1sq foot 3/8
aluminum for fuel tank pump and sensor. build up bit more leading edge on
the headlight buckets.
Re-did how the steering shaft is mounted onto the cross bar to provide
clearance when the steering wheel is pushed in. Started on making second
pointing point for steering shaft and re-cut new backing plate to stabilize
the mount.
Feb 3, 2015 1hr
Sanded down leading edge of the headlight housings. The edge is almost
perfect on both of them. One thing that kind of bothers me and that's the way
the cut was made to the bumper and thickness was added under the housing to
provide some material for the lens to adhere to and clear the bi-level
projector. The way it looks like middle is thicker then the outer edge as it
curves up. Deciding if the edge should have same thickness or sand it down
and have optical illusion as there is no curvature and have same height of
the edge.
Additional couple details are the daytime driving lights marker and turn
signal LED mounts / reflectors that need to be carved out and mating surface
on back for the cover.
Feb 5, 2015 2.5hr
Sanded down headlight housing plug and decided to sand down bottom part of
the front trim so now its all the same thickness and the bottom curve is not
noticeable. Next what needs to be done is trim rings and back mounting edge
for rear cover.
Cut down a small piece of 0.120 plate for steering shaft and pedal
reinforcement. Need to drill some holes to reduce weight.
Apr 13, 2015, 4.5hr
Re-bent front part of the fuel tank making it bit narrower to fit in between
the tonou mounting tabs. Made up couple small plates for front part of
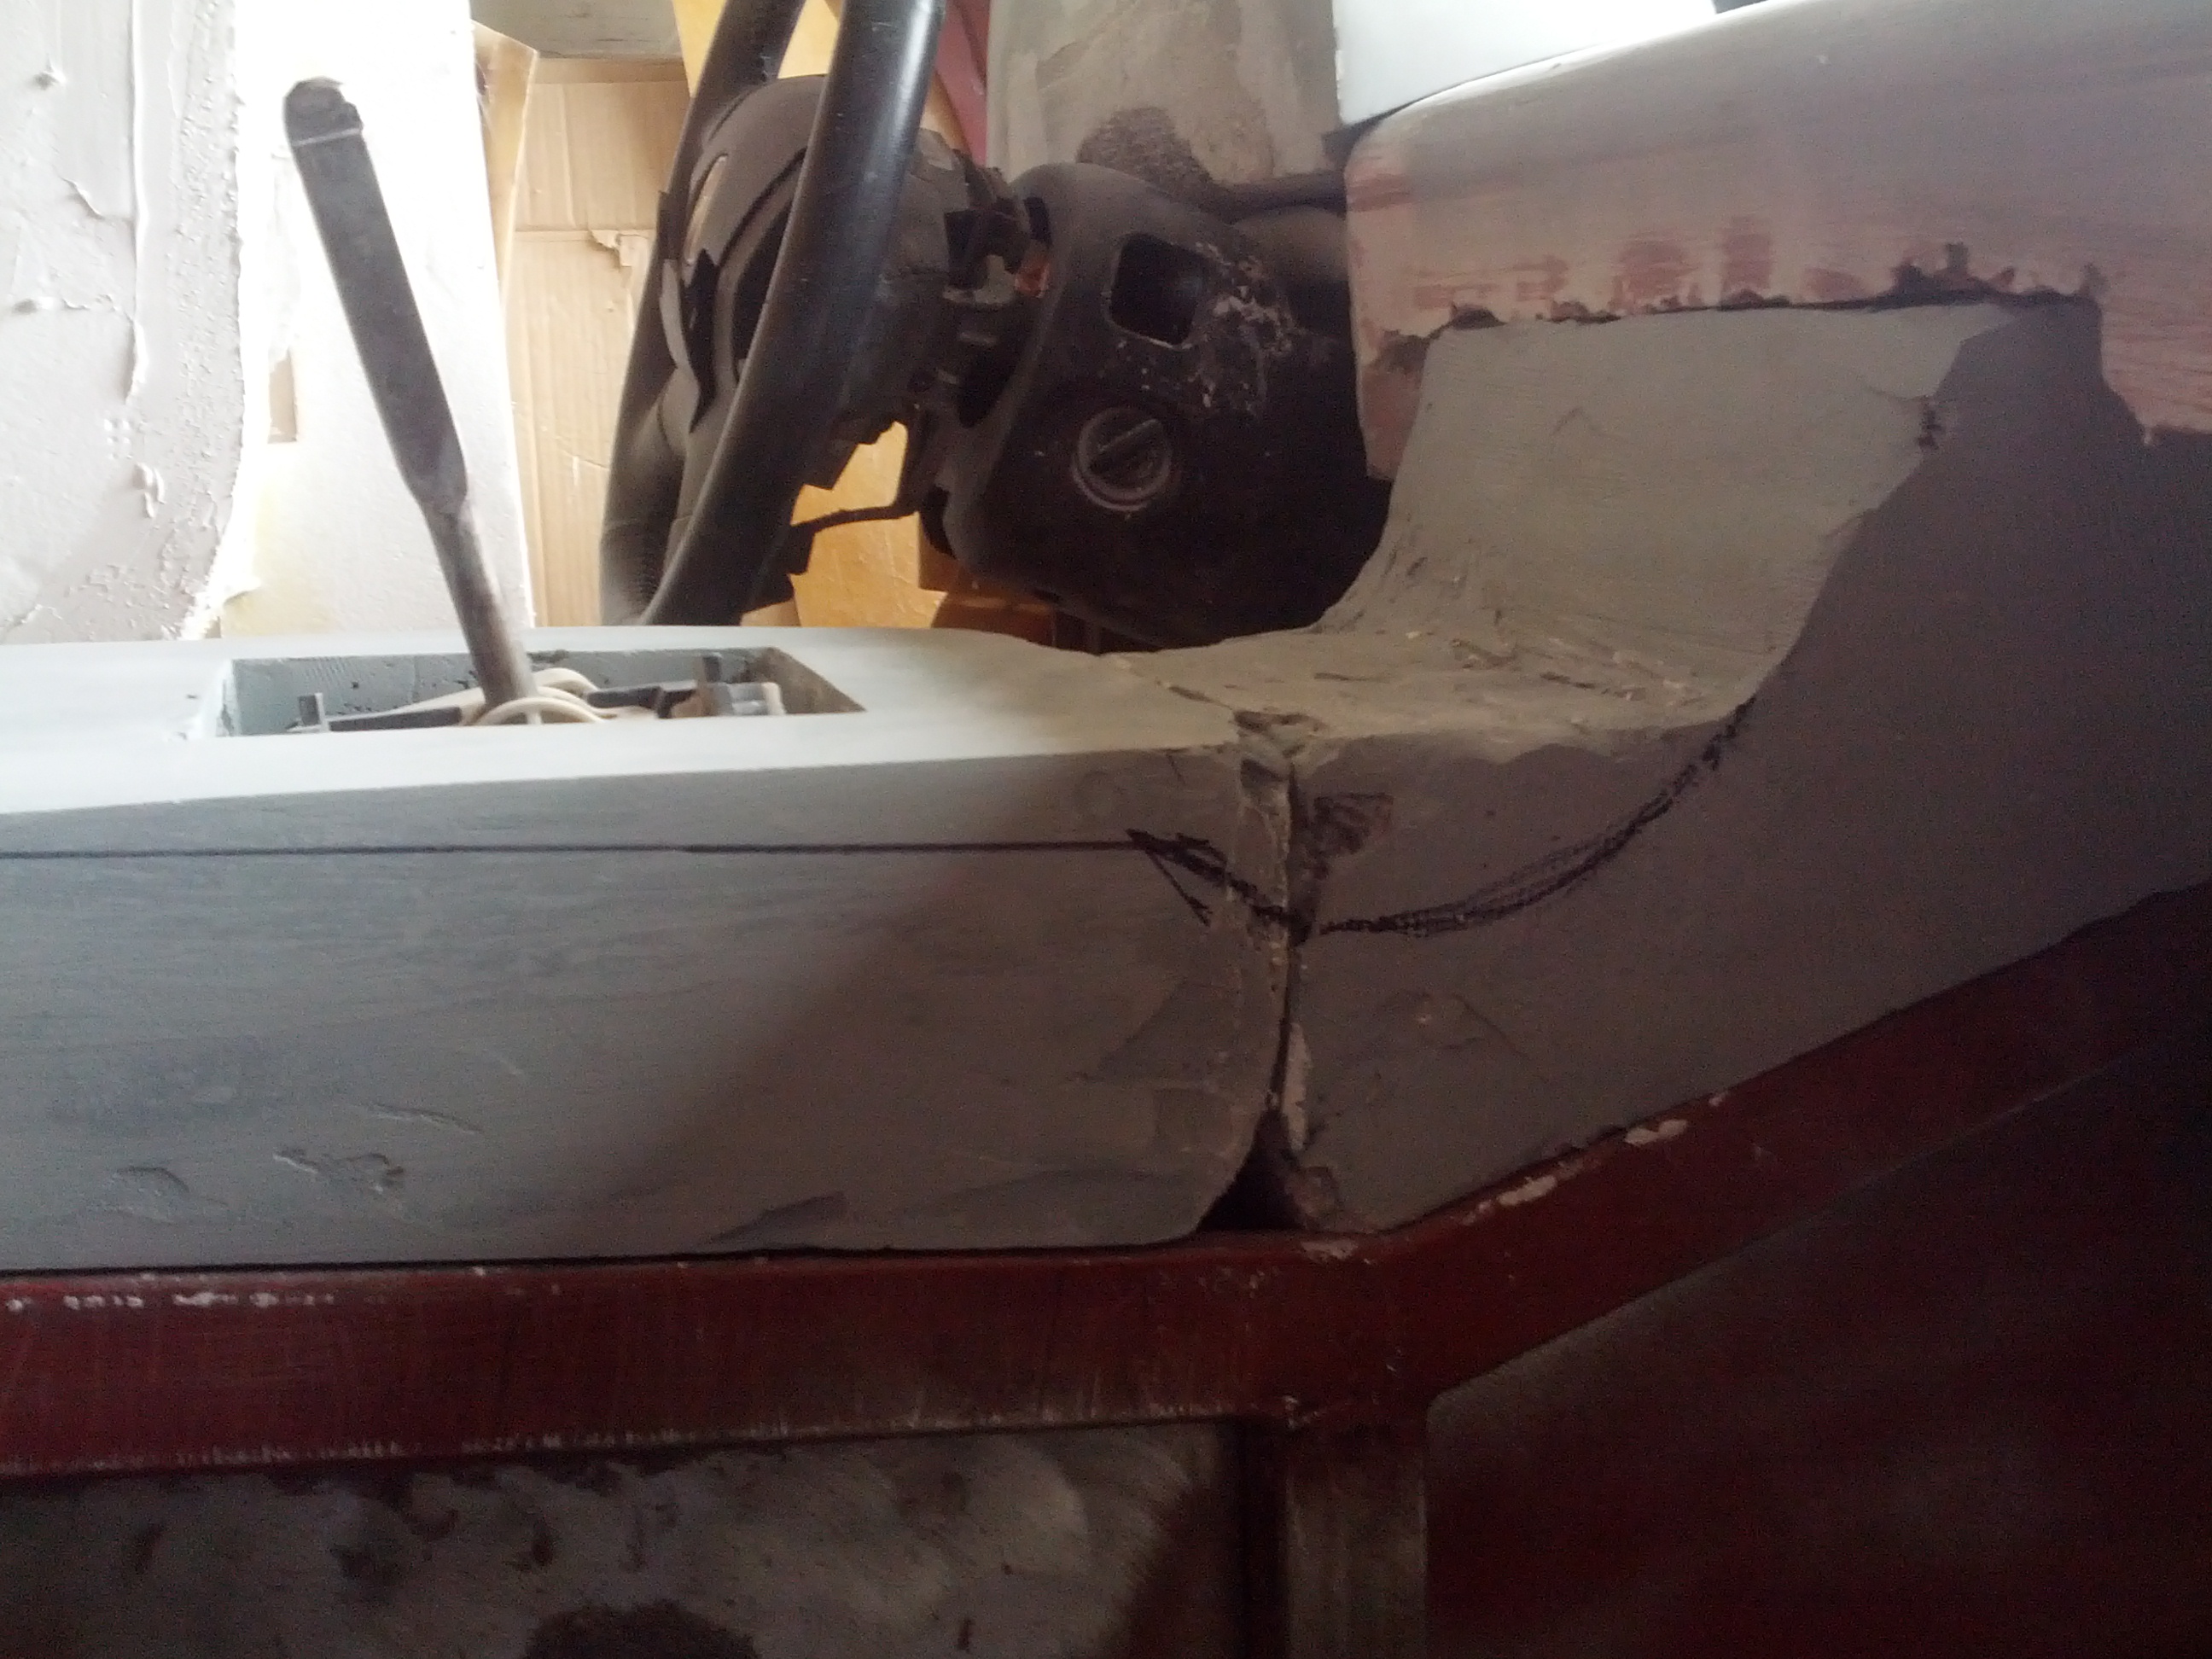
fuel tank. Started contouring dash plug around steering wheel housing and
added couple reinforcing tabs around windshield surrounds. Ground down inner
back part of front headlight buckets clearing out any extra material and
opening it up for LED maintenance and to acquire final shape of housing.
Apr 14, 2015 2hr
Sanded down dash after refilling and filled in gaps around steering wheel
housing for better fitting.
Apr 15, 2015 1hr
Sanded down dashboard and trimmed it down to get more of final contour.
Apr 16, 2015 1hr
Cleared cracks in dash and applied layer of filler to fill in the gaps and
hopefully bond the cracks. Filled in some of the rough spots around steering
column and put initial layer of filler onto the foam to give a good place to
bond more of the filler
Apr 18, 2015 3hr
Fiddled again for a bit on the dash and front headlight plugs. The small
part around the steering wheel between instrument cluster is not quite cured
yet and started to crack as I was trying to shape it down. I had to fix that
and I'm going to let it sit for longer so hopefully it will cure better so
that I can work on it. Now that the steering wheel cover is bit more shaped
and as I feared that I need to move the instrument cluster to the right by
about 3/4" :( and just when things where starting to slowly move ahead for
this summer. Well I guess it will be rear suspension time for the next
couple times in garage.
Headlights are moving along well. The LED brow or whatever they are called
I think I'll shape them to be hex shape but I'm thinking maybe round/oval
will work well too as either one will kind of blend nicely from side to
side.
Apr 19, 2015 0.5hr
Made rough mount plate for the small projector. Small step back again. Those
tiny projectors are upside down!!. ERRHH Well better
now then when the molds and buckets are made I guess. With them upside down
the beam shines upwards right into the sky and not onto the road. Small
alteration to the plug and just need to sand down to fit properly.
Apr 20, 2015
Had a quick look at the small projector opening in the front headlight
bucket for daytime driving light. Looks like it will just need to be
adjusted slightly. Clearance for shield needs to be inverted and some of the
small corners on bottom just need to be filed/sanded down. Will have to also
figure out how and where to mount the driver for HID and the way it looks
like right now only place will be on the second part of the clamshell of the
assembly.
Apr 22, 2015 2hr
The narrow piece across steering shaft on the dashboard is not very sturdy
and it actually cracked. Had to carve out and clearance some space and put
some plaster and hopefully it will bond together.
Apr 25, 2015 3 hr
The cracked area around instrument cluster is not holding as thought. Carved
out 2 trenches across and into the dash under the bottom inserted 2 metal
rods as dowels and plastered it in.
Sanded down headlight buckets and filled in imperfections
Apr 26, 2015 1.5 hr
Sanded down headlights from previous day. Inverted mount on second headlight
driving light to correct the small oversight. Filled in app imperfections
once again.
May 1, 2015 1.5hr
Sanded down headlight plugs from last time filler. The indentation is
starting to look good, maybe one more top filler coat and they will be ready
for bezels and carving out indicator lights. Also did a light sanding
on dash around the steering column \ instrument cluster area. that part is
ready as well but before trying to carve out and re-center instrument
cluster more work needs to be done around how it fits around the column
May 2, 2015 1.5hr
filled in some of the small imperfections in the headlight buckets. After
sanding down and clearing steering column on the dash and looking around on
how the instrument cluster sits, decided to carve into the dash and move the
cluster section. Cut out the edges of the dash around instrument cluster and
moved it over to the right half inch. its not much but it seems like its
centered better with steering column.
May 3, 2015 0.5hr
Trimmed down some of the overspill when the re-centering the instrument
cluster
May 5, 2015 2 hr
Sanded down a bit and re-filled imperfections around the instrument cluster
on the dash. Digged up old can of gel coat, most likely its too old to do
anything good with it so decided to make a part out of the front air intake
splitter. Time will tell how they will turn out as the silicon mold did not
dried properly to start with and had uneven surface, second not sure how the
gel coat will cure as it was still wet after an out in open air.
May 8, 2015 3hr
Re-made new support tubes around door strike to allow for larger cavity to
fit seat belt mechanism into it.
Both welded into position, right one is ready to be boxed in.
May 18, 2015 6hr
Re-made 4 new mount plates for projectors in the headlight buckets. Started
with plug for trim ring on right headlight. Will have to wait till fully
dries which will prevent in cracking of it.
May 20, 2015 1 hr
Masked off the left headlight bucket and started making the trim ring. Just
like the right one when taking it out the ring cracked into 3 pieces. Poured
more plaster after clearing the gaps and let it dry over night.
May 24, 2015 2hr
Masked of back side of left headlight bucket and poured plaster over it to
make up rough shape of the back dust cover. Pulled it off after 3 hours
drying time and unfortunately it cracked into 3 pieces.. Will have to
replaster it together to get it into single pieces.
May 27, 2015 2hr
Made a mold/ plug for right hand headlight back cover. Decided to use
plastic shipping tape rather then paper masking tape to mask off the actual
headlight main unit. To a surprise it worked perfectly, slight pull on the
part and it separated perfectly in one piece and smooth around all the edges
Jun 6, 2015 9hr
Had very productive day. Contoured back covers for headlights and filled in
all exposed cavities. Contoured trim rings for headlights. finished making
all plates for steering column support and tack welded into place. Shaved
off 1/2 inch from top of the instrument cluster pot. Its not a huge change
however it does make a lot of difference looking forward especially if using
smaller steering wheel
On the negative side, burned 2 hole saws and cracked a belt in the drill
press :(
Jun 7, 2015 5hr
worked to refine better shapes of the back covers for headlight. Made couple
more mount points for body panels. Added additional brace plate to steering
column support. Welded in driver (left side) door striker support, need to
add secondary support to striker mount plate
Jun 9, 2015 4hr
Worked bit more on the headlight back covers, filled in some of the air
packets and reshaped some of the finer contours. Need to wait for dust
covers to come in, just hope they are not too big. Sanded down instrument pod,
having it shaved twice it starts to look rather wide and bit out of
proportions. Might have to bring sides bit inwards now as they stick out and
don't have a right proportions aver the steering wheel. Did a bit more
tweaking to the steering column clearance on the dash. It finally has good
clearance to the cover. Will have to put turn signal and wiper switches on
the column and see how they clear the rest of the dash.
Made up and welded plate to the door striker plate so that it sits in
its final position. Next need to take rocker panel off and trim over hang
from the tunes and plate.
Jun 11, 2015 2hr
Waiting on for parts for the headlights and as the rear suspension was
barely started, decided to look at the rear suspension and see how the
springs would fit. After looking at the springs compressed and fully
extended lengths and a ride, it was decided that the original set of
brackets did not had enough clearance for lower eye mount and also that the
upper part of the bag would be hitting both the control arm and the bracket
it self. After careful measurements a new bracket template was devised and
new test bracket was cut out.
Jun 12, 2015 3hr
Bit more progress on the rear air spring mounts. After bit more measuring
had to make a different mounting point for the spring closer to the frame to
clear upper control arm doing so clearance for the bag decreased so had to
indent some of the bracket to clear it.
One thing that still needs to be checked is the clearance of the bag to
upper control arm when the bag is fully inflated and both control arms are
dropped
Jun 13, 2015 4hr
Checked clearance for fully inflated bag. Chassis clears ground with 11"
however one small tube on the upper control arm only clears it till about 8"
anything beyond that and the bag starting to run on it. Good thing is that
there is a way around it however it involves moving the bar out and involves
few hours of labor. Well cant win everything.
Fabricated remaining upper brackets for air spring and first set of the
lower brackets. Tacked in all available brackets onto right side and make
template for second lower bracket.
Jun 14, 2015 4hr
Made up remaining lower bracket. Tacked in all brackets on left and right
side. Bent up filler sheets where the brackets are welded in. Fabricated and
welded up fillers to clear the spring for left side.
Jun 15, 2015 1hr
Trimmed and welded in left side of the sheet metal.
Jun 28, 2015 3.5hr
Finally got some garage time. made up the 2 curved filler plates around
spring mount, welded it in cleaned up the welds. Trimmed the entire sheet
and welded it in
Jul 1 , 2015 0.5h
Started to contour edge on dash. Layup front rough contour
Jul 11, 2015 2hr
Filled up a valley on the dash, never felt right till I put straight edge to
it. Sanded down one of the back covers for head light and primed
July 28, 2015 0.5hr
As part of making panels for Brian I had made a thin lower section of
windshield frame without gel coat to help me in aligning wiper regulator.
Aug 5, 2015 1hr
sanded down dash that was filled couple weeks ago. There was still a small
valley and had to be filled to make it smooth all the way across.
Aug 7, 2015 1hr
Cut a relive in upper rear diffuser to bend inner return to match with the
outer pieces. Had it reinforced today and bonded back to the sides. Need to
finish the part before I put wax on it to make new mold to lay up parts for
Brian
Aug 10, 2015 2.5hr
Sanded down dash and sprayed it with primer. Still has small indents and
will have to fill it in. Contoured center radio cluster.
Made up center part of top tonou and base to gear shift base. Need to verify
in day light as to how it looks and general position then weld it in.
Aug 14, 2015 0.25hr
made a relive cut on inner flange to go along with the sides for rear upper
center section and refilled in together when doing Brians panels
Aug 16, 2015 0.25hr
Filled edges with gel coat to finish off and fill the gaps from bonding
process to finish the part and as preparation for making missing mold for
Brian
Aug 23, 2015 0.5hr
sanded down gel coat on rear upper center to smooth out the surface. still
need small fillings but it looks soo much better
Aug 31, 2015 0.5hr
Trimmed down foam for center console and sanded to contour it. Cut out
relieve from underside so that the shifter would fit. Put first coat of
plaster to give some structure
Sep 4, 2015 0.5hr
while making parts for Brian took the opportunity to part front brake grill,
wax it and layed up 1st part of the mold
Sep 5, 2015 0.5hr
Doing Brian's parts again, layed up second half of the brake grill divider
and filled some holes in rear lower diffuser with gel
Sep 7, 2015
Prepering more molds for Brian took the opportunity to prep the brake grill
Sep 13, 2015 1.5
Laying up gel for Brian's molds, tried making brake grill just from the gel
and mat. it will be interesting to see how it comes out as it was hard to
put the mat between gel. It would had been easier with woven cloth.
Make some adjustments to front headlight buckets and built up trim rings
Oct 3, 2015 2hr
Started making seat belt mounts, decided to use the Accord belts as they
will fit into the cavity perfectly. Made up first tube with mounts and
second just needs to have the threaded sleeves welded in
Oct 8, 2015 1hr
finished second tube for seat belts and tacked in place
Oct 20, 2015 2.5hr
Started to make relive spacing on tail light buckets so that water could
drain easier. Carved out most of the back side of the plugs, they will need
to be filled in and smoothed out as the carving is rough and has lots of air
packets. Will have to make some provision for either plugs or cable
restrains with access door to the controllers.
Mirrored left side back cover for headlights, still needs adjustments but
now at least they are fairly close left to right. Still need to check on
clearances for the back covers and tire radius during turns. Will need to
make bottom mount plate which will be used to fill in the cut out in the
bumper. Weather permitting molds and parts still could be possibly pulled
this year.
Oct 23, 2015 1.5hr
cleaned up the extra plaster from front back cover and rear plugs, letting
it sit and allow to cure. Still need to make further adjustments
Oct 24, 2015
Spent some time at recyclers, found windows regulators from 01 Celica and
some outer glass trim from doors as it was in fair condition. Also snagged 2
trunk latches from 99 Acura TL all for cool $80. .... deal and half
Oct 25, 2015 1hr
cleaned up extra plaster and paled up some more to cover deficiencies
Nov 28, 2015, 1.5hr
cleaned up extra plaster and paled up some more to cover deficiencies
Nov 1, 2015 1hr
Small adjustments to the front headlight dust covers and rear tail light
buckets
Nov 3, 2015 1hr
sanded down and primed. Tail light buckets phase 1 is complete for cutting
back relive, front headlight dust plugs are done all symmetrical, but
might have to add small extension for projectors to clear the connector. Need
to wait for primer to dry and see how they fit and hopefully there is enough
clearance for wheel scrub radius.
Nov5, 2015 1ht
Started back cutting bottom part of the tail light buckets. Made small
channels on left side
Filled in small areas of the tail lights and back covers for front
headlights
filled in indent on center console
layed up first layer for right door
Nov 8, 2015 4hr
sanded down all extra materials from light plugs. Back cut both sides of the
tail light housing. Checked clearance for front lights. :-(... bad news. Its
tights. covers for small projectors will have 1.5" clearance. will have to
push projectors forward and indent the cover cap. Larger projectors need
additional 0.5" clearance :-( not shure how to do that. Additionally area
under and around the small projector cap needs to be trimmed around bottom
corner. To make things worse. there is no area for bolting fender to bumper
on the corners. Will have to trim down the edge make it smaller and somehow
fasten the 2 with a plate rather then couple bolts/screws from bumper
into fender.
Nov 14, 2015 2hr
Had some time to figure out the head light situation. When making the bottom
leading edge of the buckets they extended on the inner corner by about 0.75"
so my lowering the buckets to where they supposed to be which is about there
they supposed to be and moving them forward clearance to the tire got
increased. To make the dust covers even slimmer 0.75" on the outer sides
where cut giving more space to fasten fenders with bumpers. Will have
to start filling in the cut out space on the bumper to its final shape and
make mold of of it as to make up a piece of filler fibreglass.
Filled in dust over to make up on the cut out space on main headlight bucket
Nov 15, 2015 7hr
cleaned up extra buildbup material from headlights and tail buckets. Further
adjusted bumper and filled it to prep for headlight mount and molding. Fully
welded in center rear firewall sheet metal holding rear window, ground down
welds and primed. started making mounting plate for shifter
Nov 18, 2015 3hr
Made up mounting plate for shifter. The plate will mount with bolts to the
center tonou and the shifter bolts up to the plate. This makes it universal
and it allows it to have the shifter removed all together.
Trimmed tail light housing and primed.
Nov 22, 2015
filled in some of the releaves from tail light housing as they are too deep.
Will trim them down to 1/8" to that the PCB inside the bucket will not be
overly reduced
Nov 24 2.5hr
Made up weld in nuts for shifter mounting plate and welded them in and
primed.
sanded down front dust covers. trimmed down rear light buckets
Nov 29, 2hr
started duplicating left side of the
bumper for the headlight to match right side. cut out extra fibreglass
out and plastered in foam into the opening. While having some wet plaster
filled in some valleys in the tail plugs.
Though the center tonou cover is moving along well, it is rather tall
especially at the front part of it. Deciding if maybe lowering it by inch
would make it look better and also
cutting out a small part just in front which would give extra space for
HVAC controls and also provide extra space to drivers right leg.
As the tank is holding up top part of the tonou and floor pan or at least
the center tank mount is holding up welding in the center part of the tonou
sheet metal. Started making a hanger
support for the tank. Needs to be finished welded and top angle adjusted
and welded into the sides for support then drilled and tapped.
Dec 1, 2hr
Decided to cut down on the center tonou, hopefully its good decision, Front
will go lower and it will open up more room for right knee / leg. It will
also give more face space on the instrument surface. Bad thing, more work
and maybe the fact that the shifter will stick up a bit
finished center tank bracket reinforcements and welded to the tonou. Now the
center can be welded in or at least tacked in
Dec 8, 2hr
Stopped by and bought a 40lb argon tank today as a new TIG welder is waiting
to be picked up from Bryan. With the new tool it will allow me to slowly
weld up the fuel tank and finally close off the floors and be able to drop
seats into it. The TIG will also come in handy later on when doing exhaust
Sanded down and removed some extra plaster from rear light buckets and
primed. Filled in some of the gaps and valleys in center tonou cover
Total 238.5
hr
Yet another year has passed and very little work had been done, needless to
say let move onto 2016
|