|
Welcome to myChimaera.com |
||
|
|
|
There are not too many OEM gear shifts for mid or rear based transmission. Hence
we are using Audi transmission its only appropriate to use Porsche type gear
shift. Porsche knob and boot are expensive and we wanted to be bit different
 so
we have decided to make our own and customize it by adding display to indicate which gear we
are in. As reference there is a stripped down version of the
gear shift indicator of
what we are going to use in electrical section for any one that is interested in
building it as DIY project. Our full version of the indication is multicolor
with communication capability to talk with other electronics nodes in the system
and tack tile feedback that is not in the stand alone version. so
we have decided to make our own and customize it by adding display to indicate which gear we
are in. As reference there is a stripped down version of the
gear shift indicator of
what we are going to use in electrical section for any one that is interested in
building it as DIY project. Our full version of the indication is multicolor
with communication capability to talk with other electronics nodes in the system
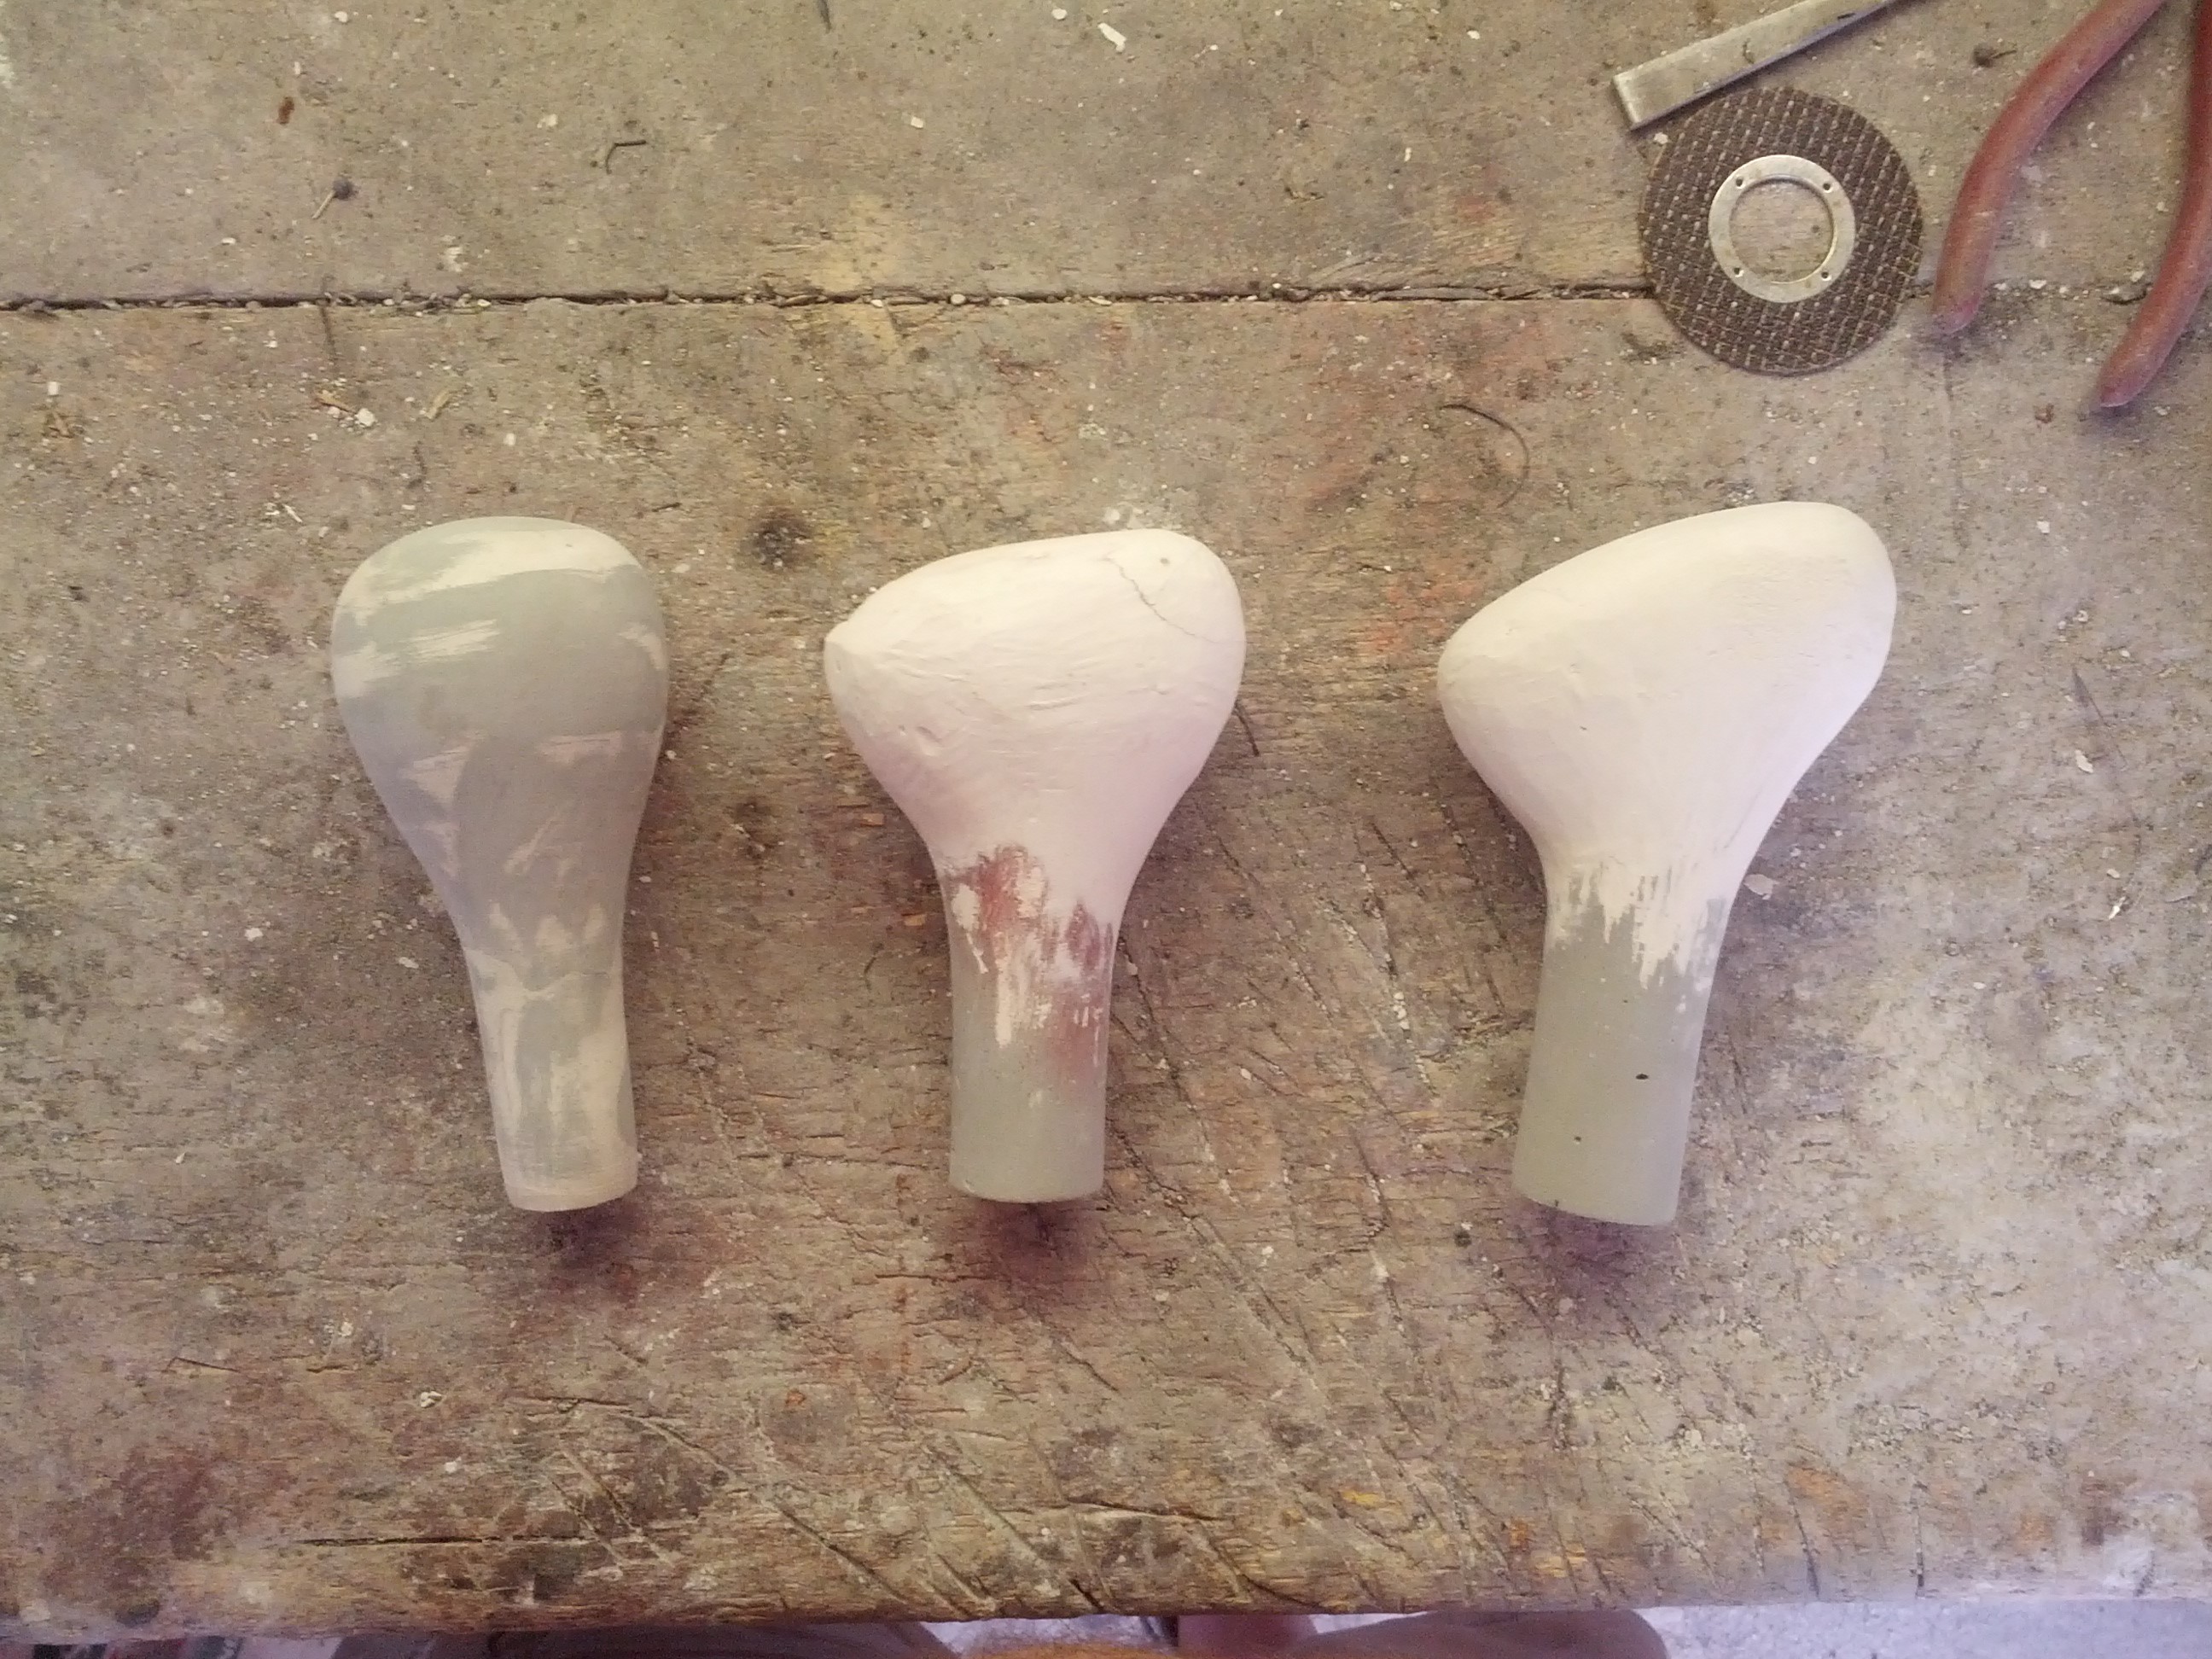
and tack tile feedback that is not in the stand alone version.Started making a plug/model out of clay to get general shape and feel for it after drawing rough sketch of what we wanted and had enough space to hold electronics inside the knob. It would had been a lot easier and have more permanent item to have it modeled and 3D printed but that would require considerable amount of CAD time and not knowing how it would feel holding it which would require possible redo of the CAD file and re-print resulting in cost increase. Going clay route has couple advantages one being price and 2 easy to work with. One major disadvantage is that it takes time for clay to dry fully. To start, we had used a wood dowel that fits in drill chuck on one end and on the other end we shaped it to have identical dimensions as the shifter. Then we had made a rough over sized cylindrical shape out of clay utilizing the shifter and when the clay had dried enough to keep shape but still workable we had pulled from the shifter to peal off any form controlling cardboard and paper and put it to side to let it dry. When the cylinder was fairly dry we had it mounted on the wooden down and drill press to that it would act as it was in a lathe where we had it turn to a shape that we had drawn. Not being careful enough and with out explanation we had broken first attempt at making the knob. With second knob, we did not waited long enough for the mold to dry and being impatient we over machined the shank and while it was still moist it cracked and broke. Needless to say we had fixed second and made a 3rd knob with different profile. While this may be the cheaper way of doing it, it proved to be very labor intensive. However giving enough time for the main shank to fully dry so that it can be worked on and not damaging it while shaping it its still a better option. Upper part of the handle/ball it can be worked on while its semi dry to get general shape then letting it to fully dry for sanding and painting.
|
|
| All content is copyrighted 2014 | |