Making the inner door shells can be more trickier then originally thought and
its not as simple as just making up some spacing from the main body and laying up
fiberglass to make the shell.
Figured that to make them it was easier to make positive molds rather then
making an actual plug which would involve making actual door them making mold
from it them pulling actual part after. The other disadvantage would be
that it would be hard to make up all of the mounting points for window
regulator.
To avoid all of the headaches of making a mold and part and then not being
sure if everything will work, it was decided to make actual part of the shell.
Problem with making the part is that it has to be properly clearance from body
panels and that some imagination needs to happen to make sure that everything
does clearance and that there is enough clearance for the seals and to made up
with outer skin panel. The advantage is that the regulators can be figured out
properly along with the latch position and how the glass with clearance it.
Preparation: One thing we had to make sure was that the rocker was mounted to the frame,
rear quarter, front fender and the front sill or fender filler in front of the
door is attached to the fender. Other thing needed to be done is that the door
hinge is mounted to the chassis and there is enough clearance for hinge to slide
into. One last thing was to make sure that the door opening was trimmed to its
final size to accept the door seal
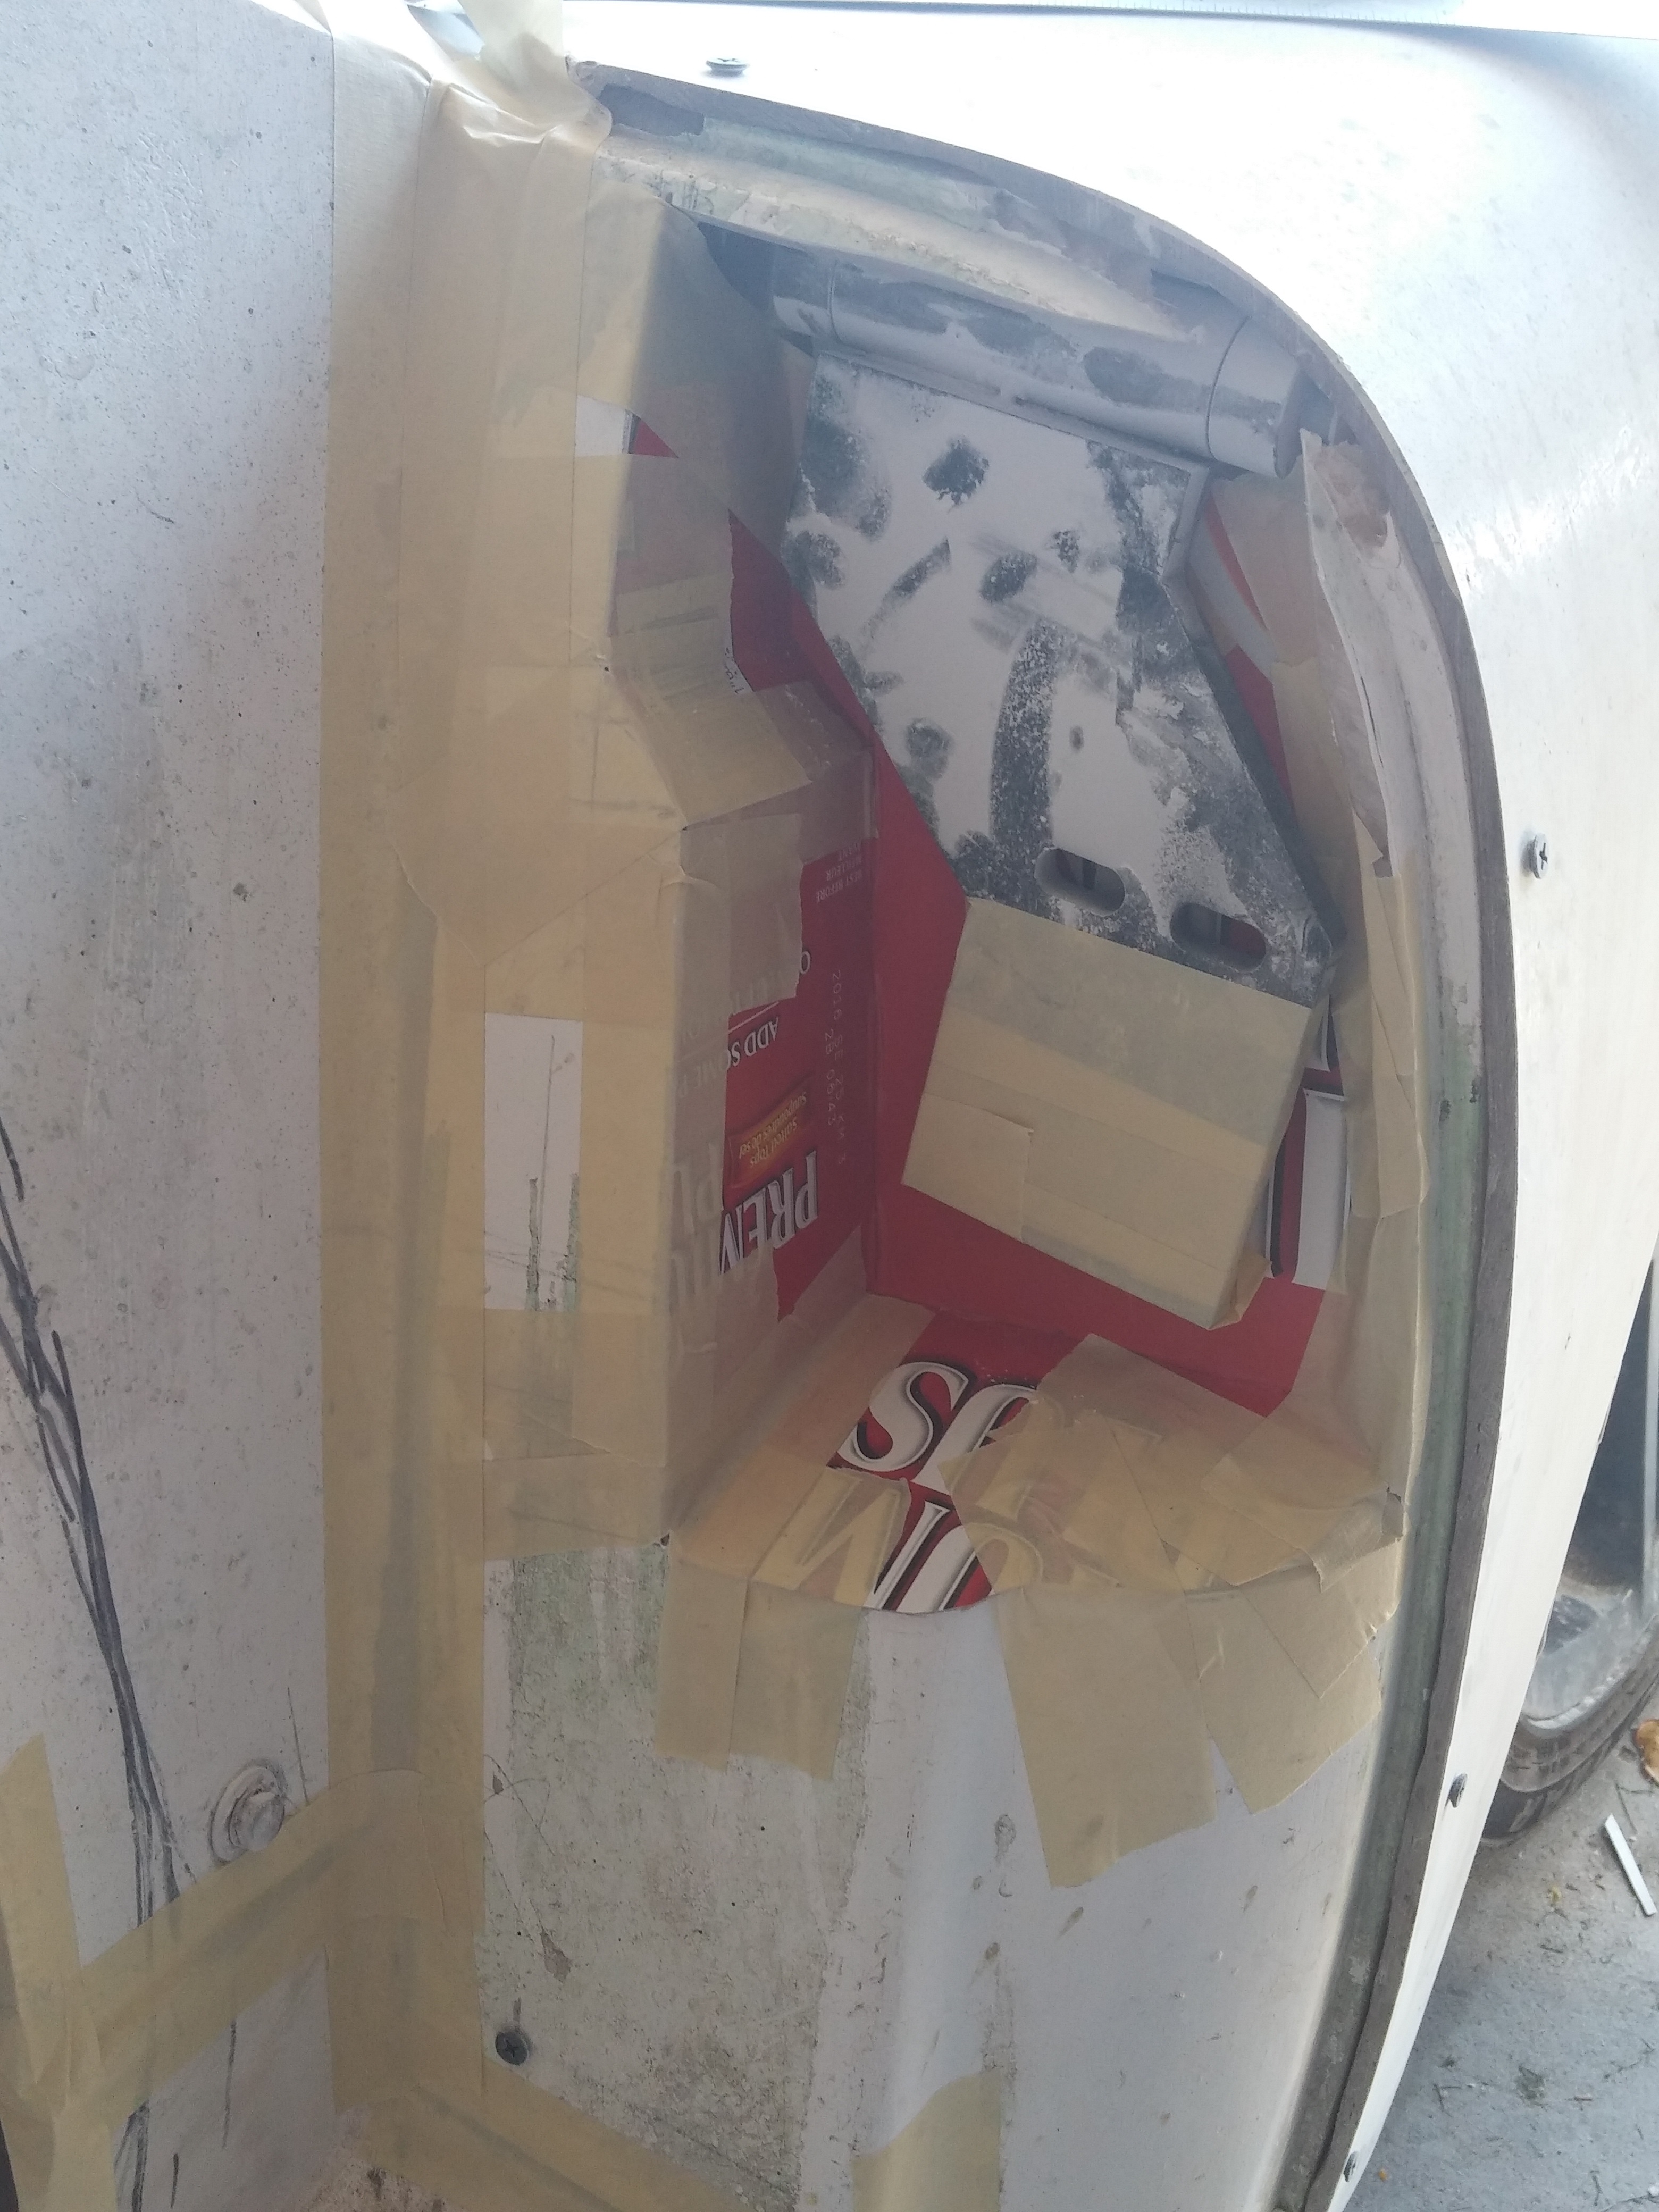
With all of the conditions meat the door opening was filled with couple pieces
of foam board bonded together roughly flat and filled into the door opening. Now
where some common sense and imagination gets involved. The body panel needs to be
build up with filler that acts as space between the door shell and body panels.
One crucial thing that needs to be taken under account is the consistent depth
of the filler so that its not to thick or to thin account the seal edge cause it
could leak water into the cabin if it does not seal properly or nod being able
to close the door if its not far apart. Also need to make sure that the door be
able to open and not hit on the A pillar. Last thing was to make sure that the
shell does mount up to the hinge properly and it does not interfere with actual
fender.
Making the plug - The goal
With the foam board shaped and braced into the opening. First thing was to make
sure that the seal surface around perimeter of the door and part of the A pillar
are about flush or no more then 3/8" below surface of the foam as perimeter
needs to be no more then 1/2" away from the body outline for seal to squeeze in
between inner door shell
and body.
within the shell there will be a removable panel to gain access to the regulator and door latch
and anything else for maintenance purposes. It will also act as structural
reinforcement to the door shell plus be a barrier to any weather conditions i.e.
water and wind blowing through into the cabin.
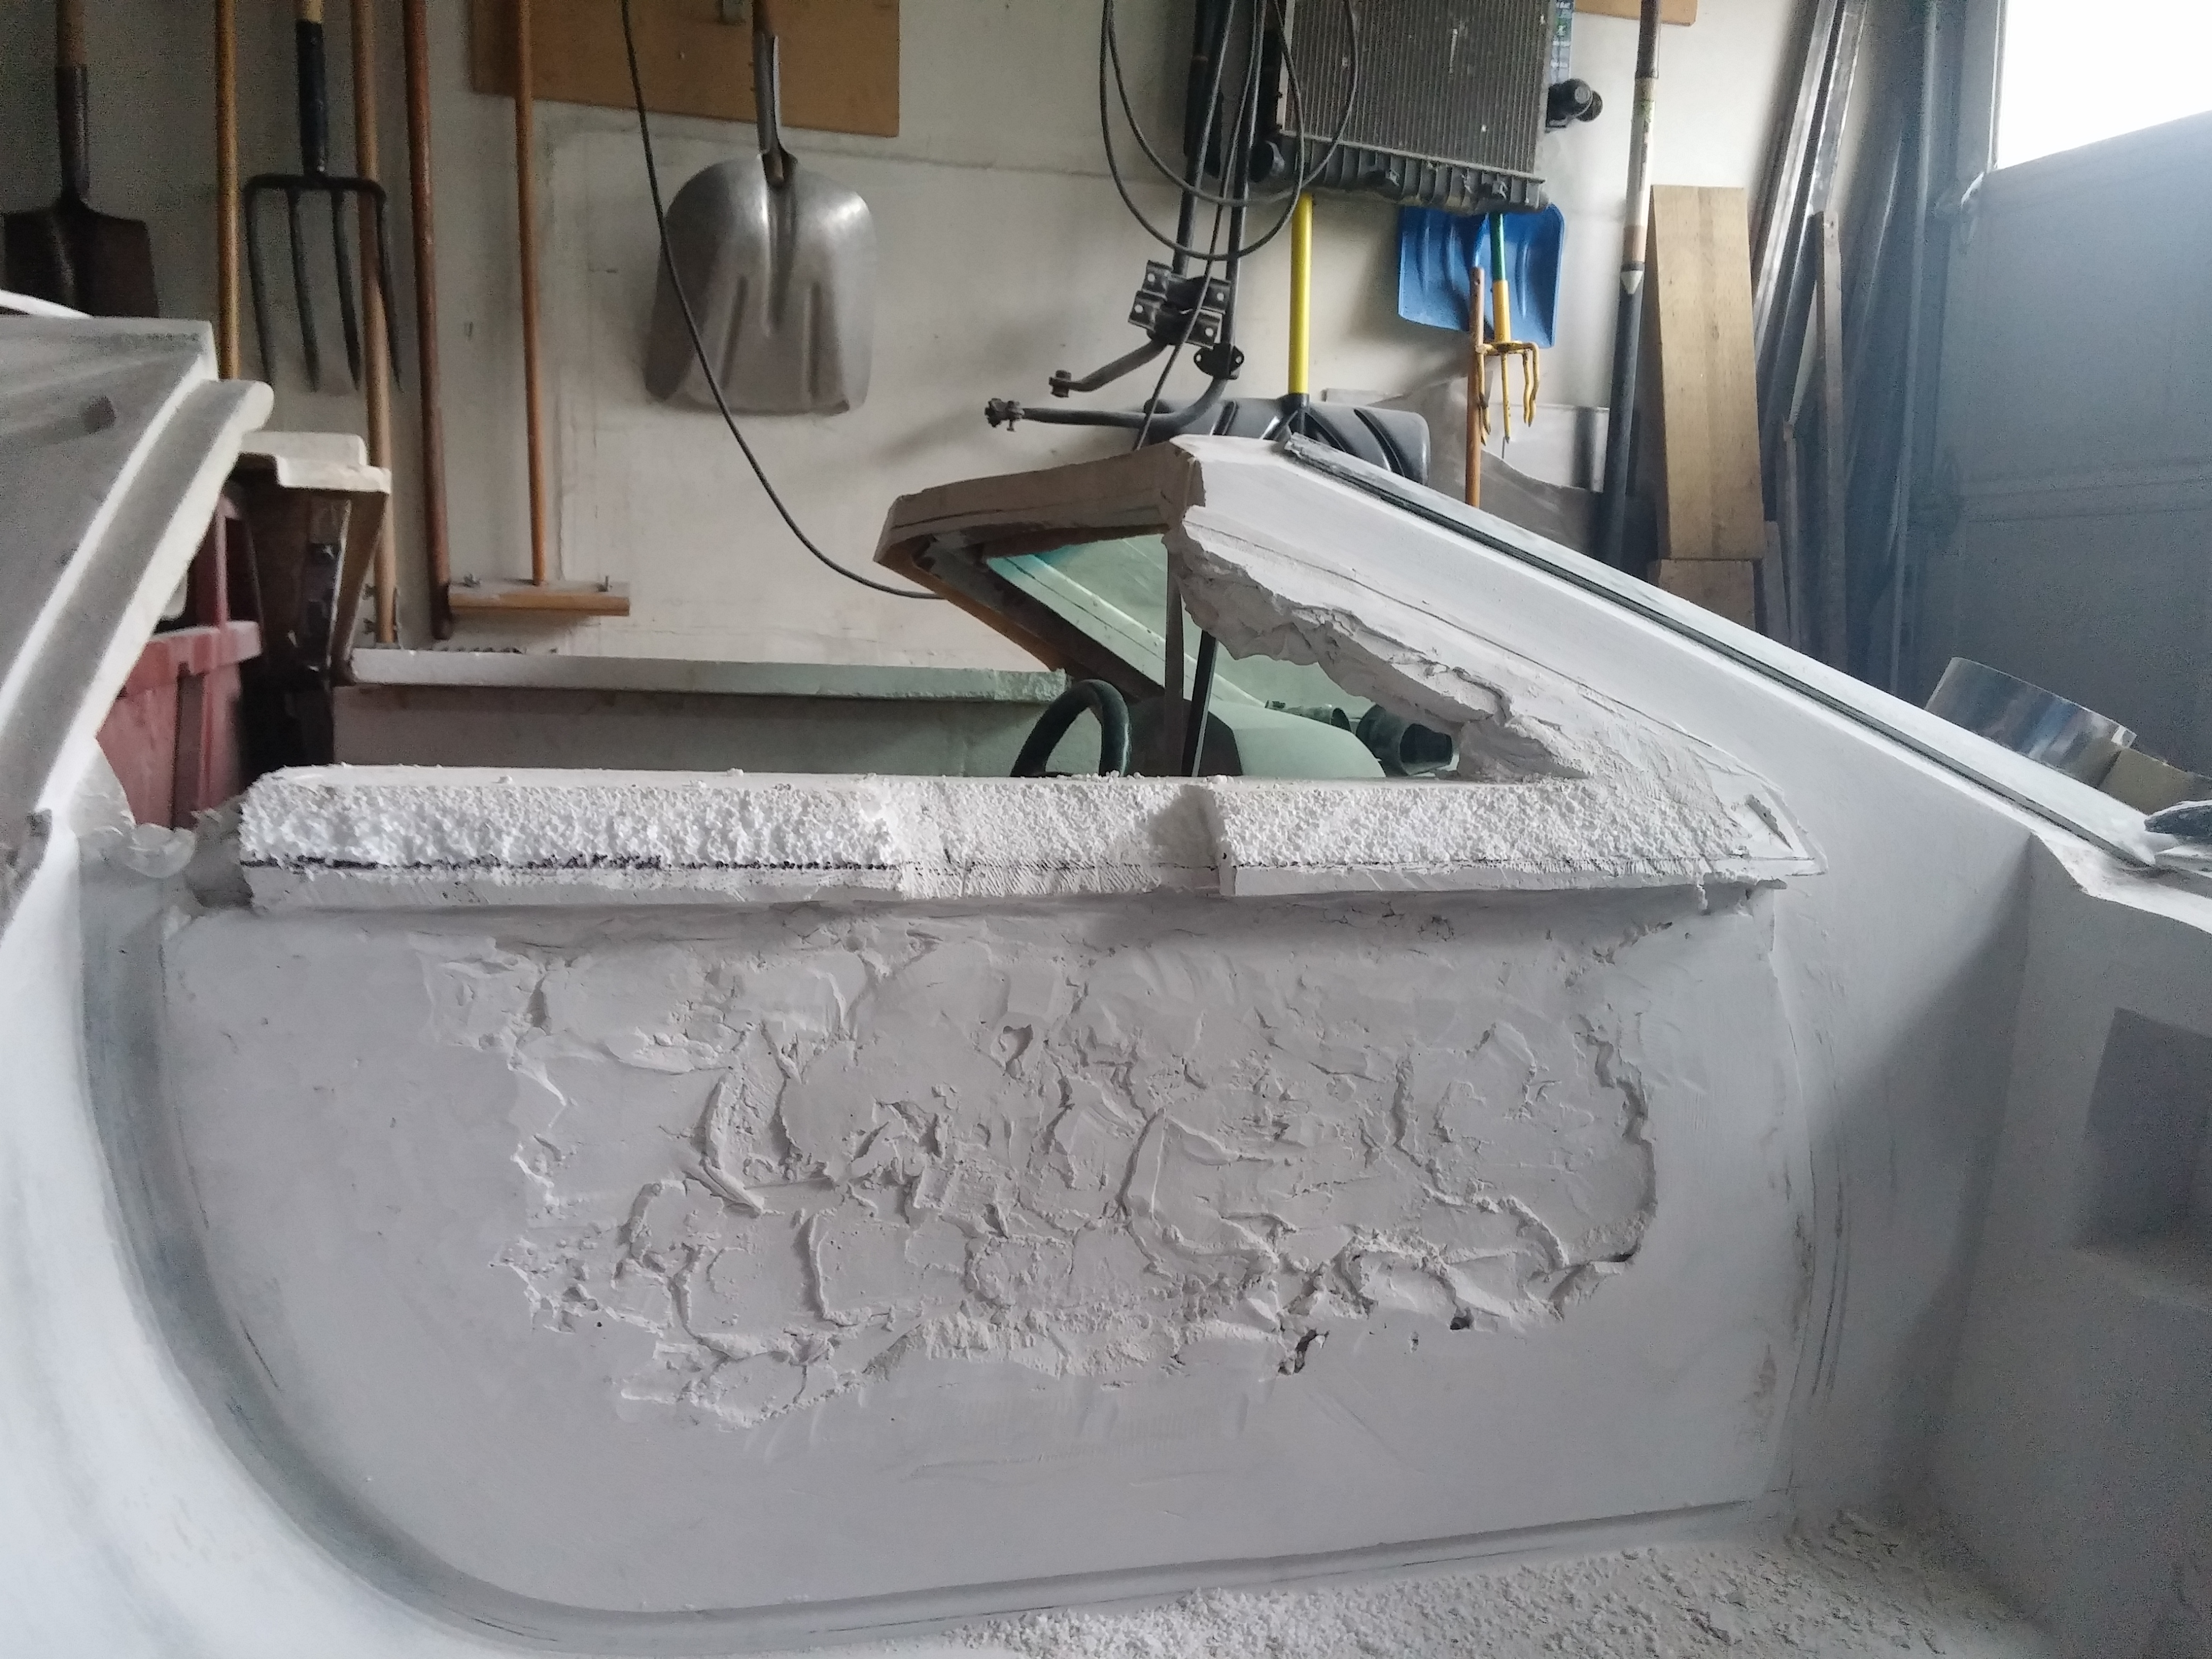
First thing is to make sure the foam is in its position and it can not move. To
do that wooden strap was used to secure it against the center tonou. Filler was
applied very generously and pressed into the rough foam and fiberglass making
sure that there is no gaps, so that once it dries it will bond foam and
fiberglass together but still be easily cleaned from the fiberglass panels.
Filler was repeatedly applied to the surface edge of the foam and part of the
door lip where rubber seal will be affixed to a thickens of 12mm or half inch.
This gap will serve as space for the rubber seal making sure its firm enough but
still give bit of a way when pressed hard on it so that it would not be
producing slam of the door when closing.
Once the perimeter and A pillar was at its desired thickness, rubber perimeter
was drawn on the filler and a cardboard form was made and fastened where a 0.25"
thickness of filler was applied to make a step as to make indentation so that
sound detening material can be applied to trim panel and eliminating any
possible rattle of the trim panel. Due to the heavy design of the A pillar
making it over sized and the way the size of the glass there is a need to make a
transition of the outer part of the door skin to A pillar, Therefore a
transitioning part of the A pillar on the door needed to be made which
unfortunately does make the door look too heavy but the extra support in the
frame provide extra support for the windshield frame incase when the car
overturns upside down. Therefore to do that a small lip on the shell was made
when bonding the halves together.
With the hinge mounting point started of being build up along with the sill
plate spacing, the main part is left alone to let it cure. Hinge area was bit of
concern, in order for the door to clear the fender the hinge was placed as close
to the top and close to the door shell. Additionally a small block was
fabricated so that when the door lifts it will clear the fender by spacing it
away from the surface and edge of the fender.
After trimming the door skin to its final dimension and thinning down on weather
stripping mounting area. Mount surface around mirror and door handle was made
simply by putting excess filler material and displacing it by placing the panel
in its final resting location. Excess was then trimmed to shape. The glass seal
area was also marked to indicate how tall the shell need to be. Excess foam was
carved out to allow for extra filler material to be applied. The area was shaped
in a way to allow for thickness of the panel and felt to be pressed between the
shell and glass.
Once
the area was finished a second cardboard template was made. This template will
make additional step in the shell which makes the access filler panel flash with
rest of the shell. And when removed it present access into inside of the door to
have easier access to window regulator, door latch and outside door handle
mechanism.
...... more to come as the part gets developed.
Window regulator
As part of the shell and keeping with O.E. glass theme as much as possible. The
door was made to fit contour of the Celica glass. However due to the size of the
glass and lower edge and its mounting and the matching regulator to fit into the
cavity very snug. With the glass leaning more then in the Celica the track will
need to lean more and with the contour of the windshield position and side angle
on the A pillar, curve of the regulator will need to be adjusted to have larger
mid curve so that it will lean more and seal upper portion of the door/glass. From the picture there is a rough
trim line to where the door trim will need to go up to to cover the mounting of
the regulator. This is also the outer trim level for the glass/door trim and
inside trim panel.