|
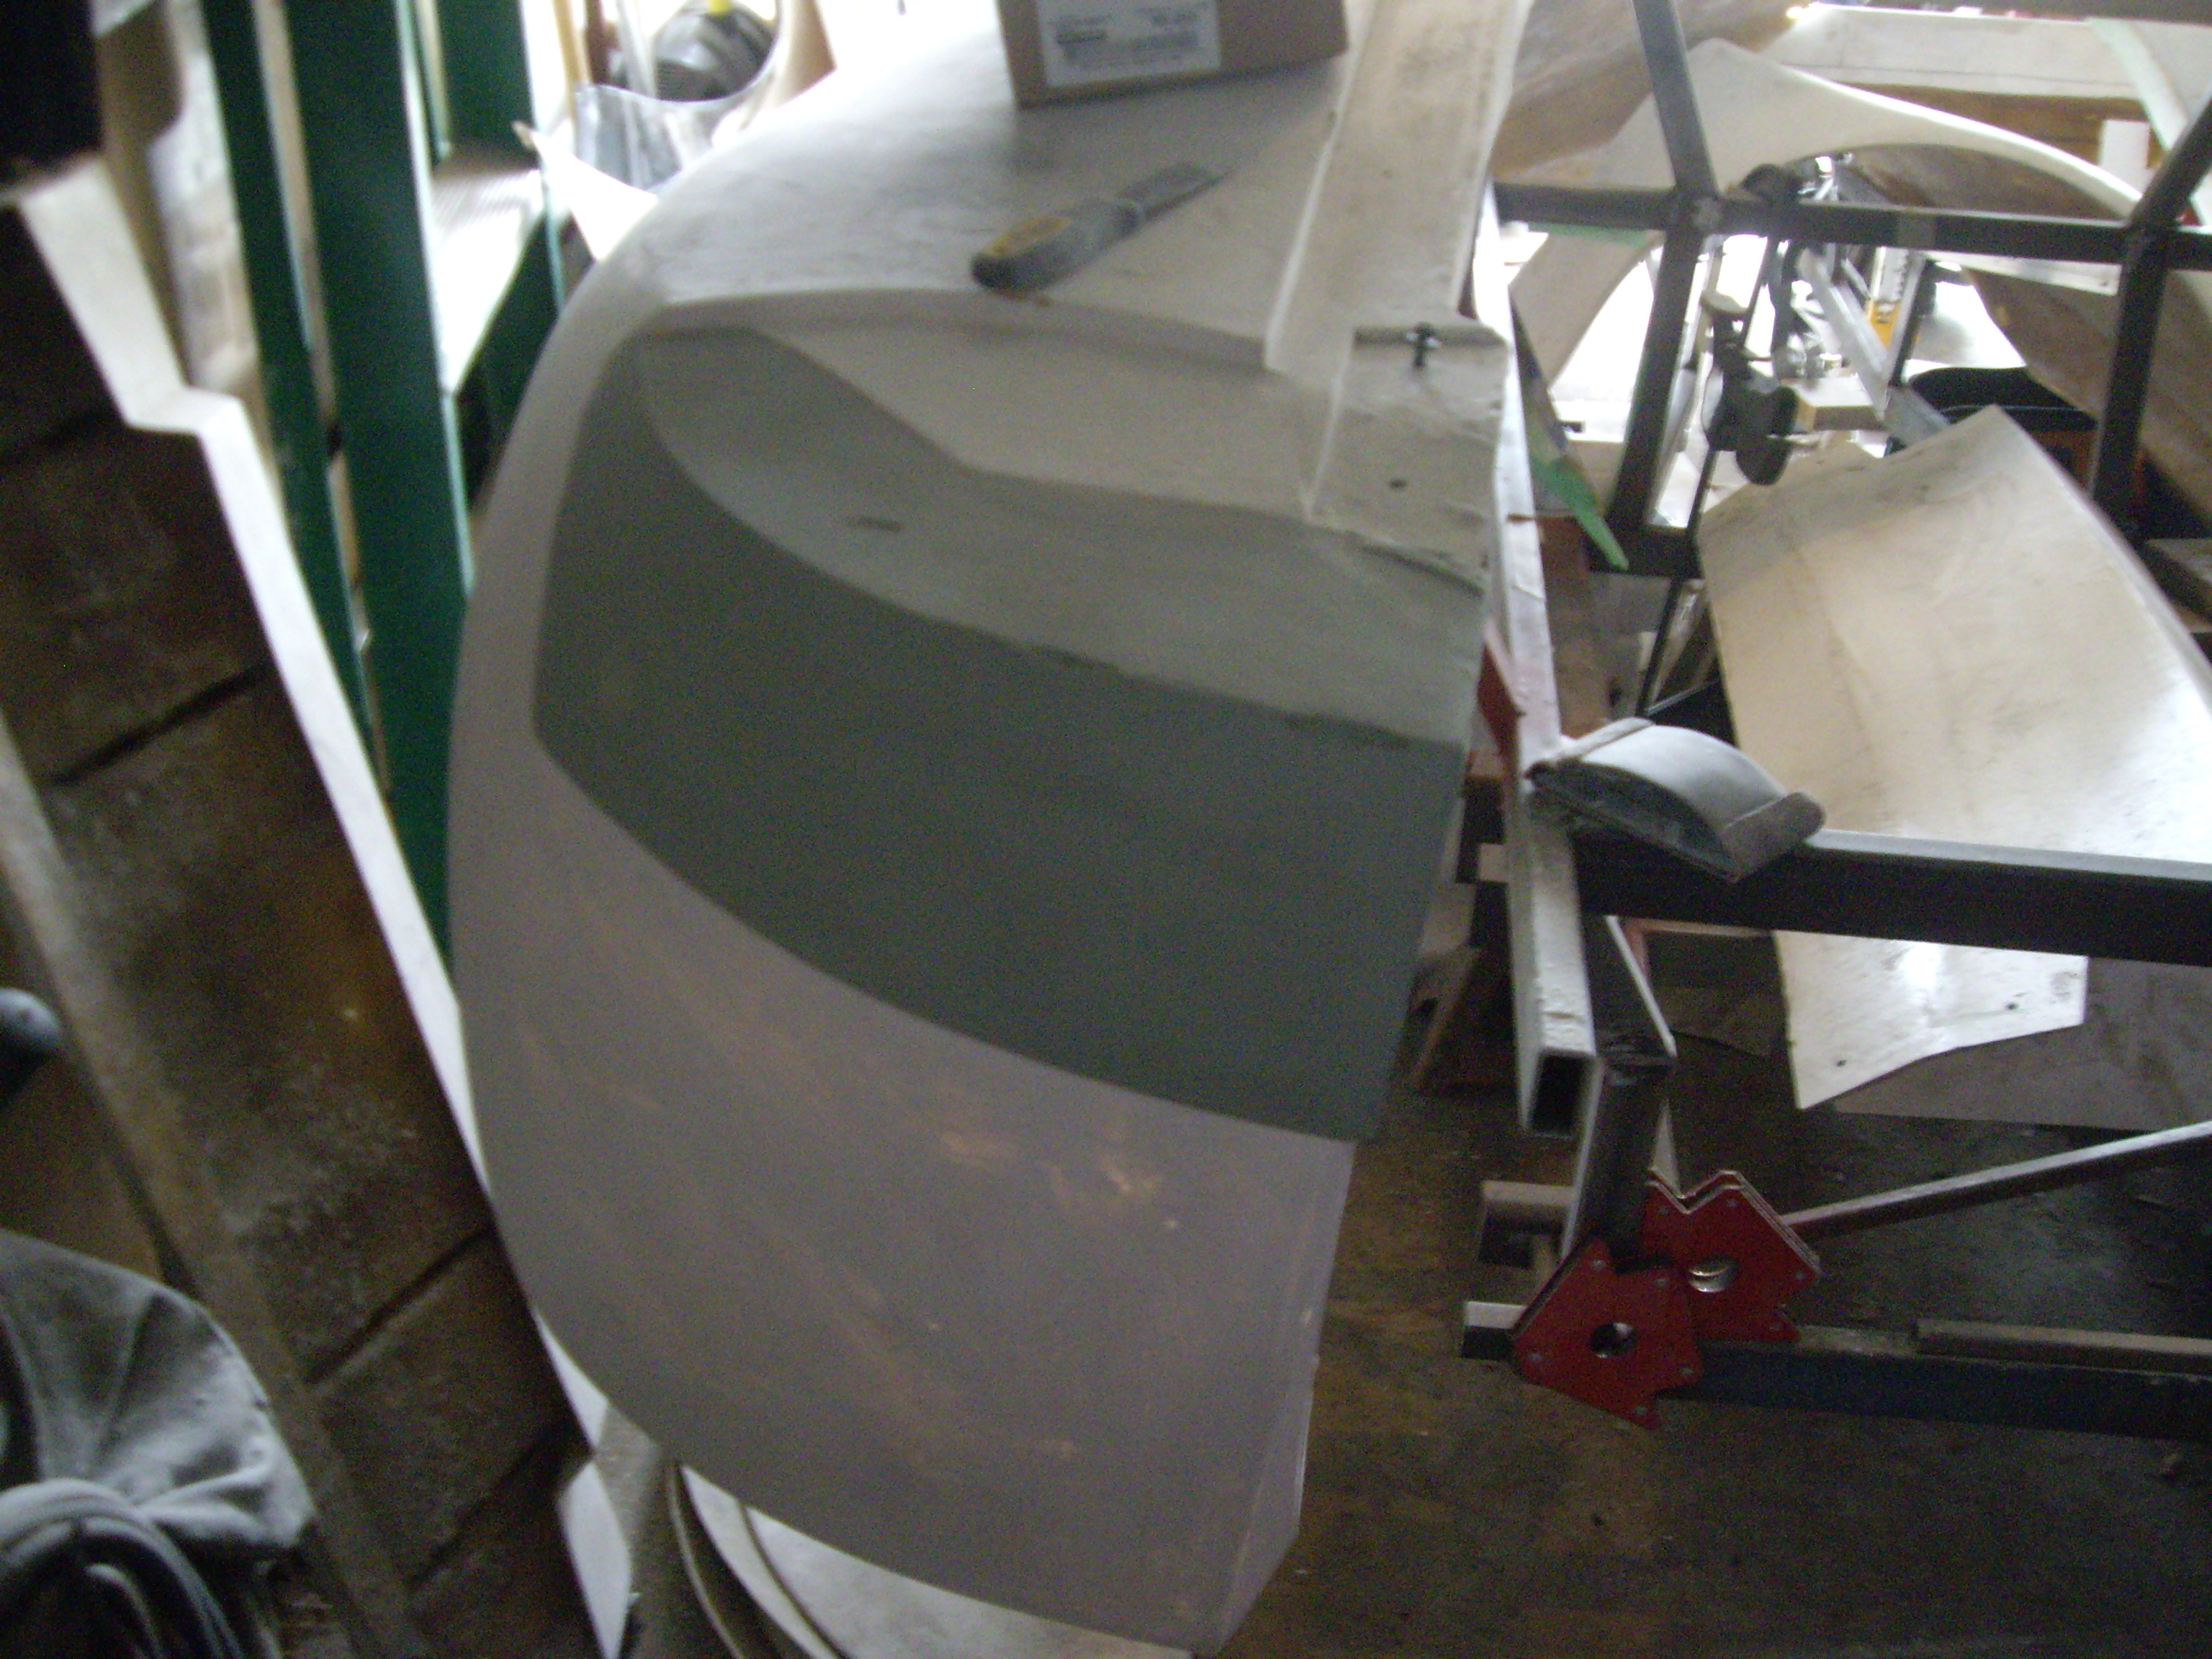
Making the rear bucket housing
To make sure that everything fits nice and tight, we assembled the panels to
the chassis then taped non stick (well least) sticky tape to the cavity of the
light buckets and played a fairly thick later of plaster as its dries quick and
it sands down very easy and can be carved out easily with tools. More on that
later..... when it was about inch thick
 filled
in with foam to a close contour with bit of over hang of final shape of the
bucket set it in place with more plaster and filled in voids with more plaster.
Once the plaster dried up, the foam was further shaped roughly to the final
shape of the contour of the lens about half inch under size. filled
in with foam to a close contour with bit of over hang of final shape of the
bucket set it in place with more plaster and filled in voids with more plaster.
Once the plaster dried up, the foam was further shaped roughly to the final
shape of the contour of the lens about half inch under size.
The larger spacing is two fold. 1) then adjusting plaster to final shape of the
lens/bucket size its better (easier) to have bit extra thickness of plaster so
that when sanding down the plaster would not be sanded down to point where
foam would be reached thus avoiding clearing out the foam from affected area and
refilling it. 2) when making mold, heat generated from curing resin
would not melt the foam thus distorting the mold which them would be transferred
to the part. Found that hard way when making some of the molds for the body and
as this has less of tolerances its just a way of making sure the part comes out
much better from the mold.
Making sure that the buckets and lenses are symmetrical a thin card stock was
used to make templates of top of the bucket and additional one of the size of
the lens once one side was finished. The upper card stock was then tapped
to the other side of the bucket and outer edge of the bucket around lens was
marked and sanded in spots where needed and filled in other spots thus making
symmetrical contour of the bucket. Once the shape was finalized second
card stock was used for the face of the lens and again sanded down and filled to
make sure its level and straight. As the 2 surfaces are on angle so by adding or
removing material to / from the plug on once side it changed the angle on the
other side. So by repeating the process couple times, both buckets ended up to
have identical contour.
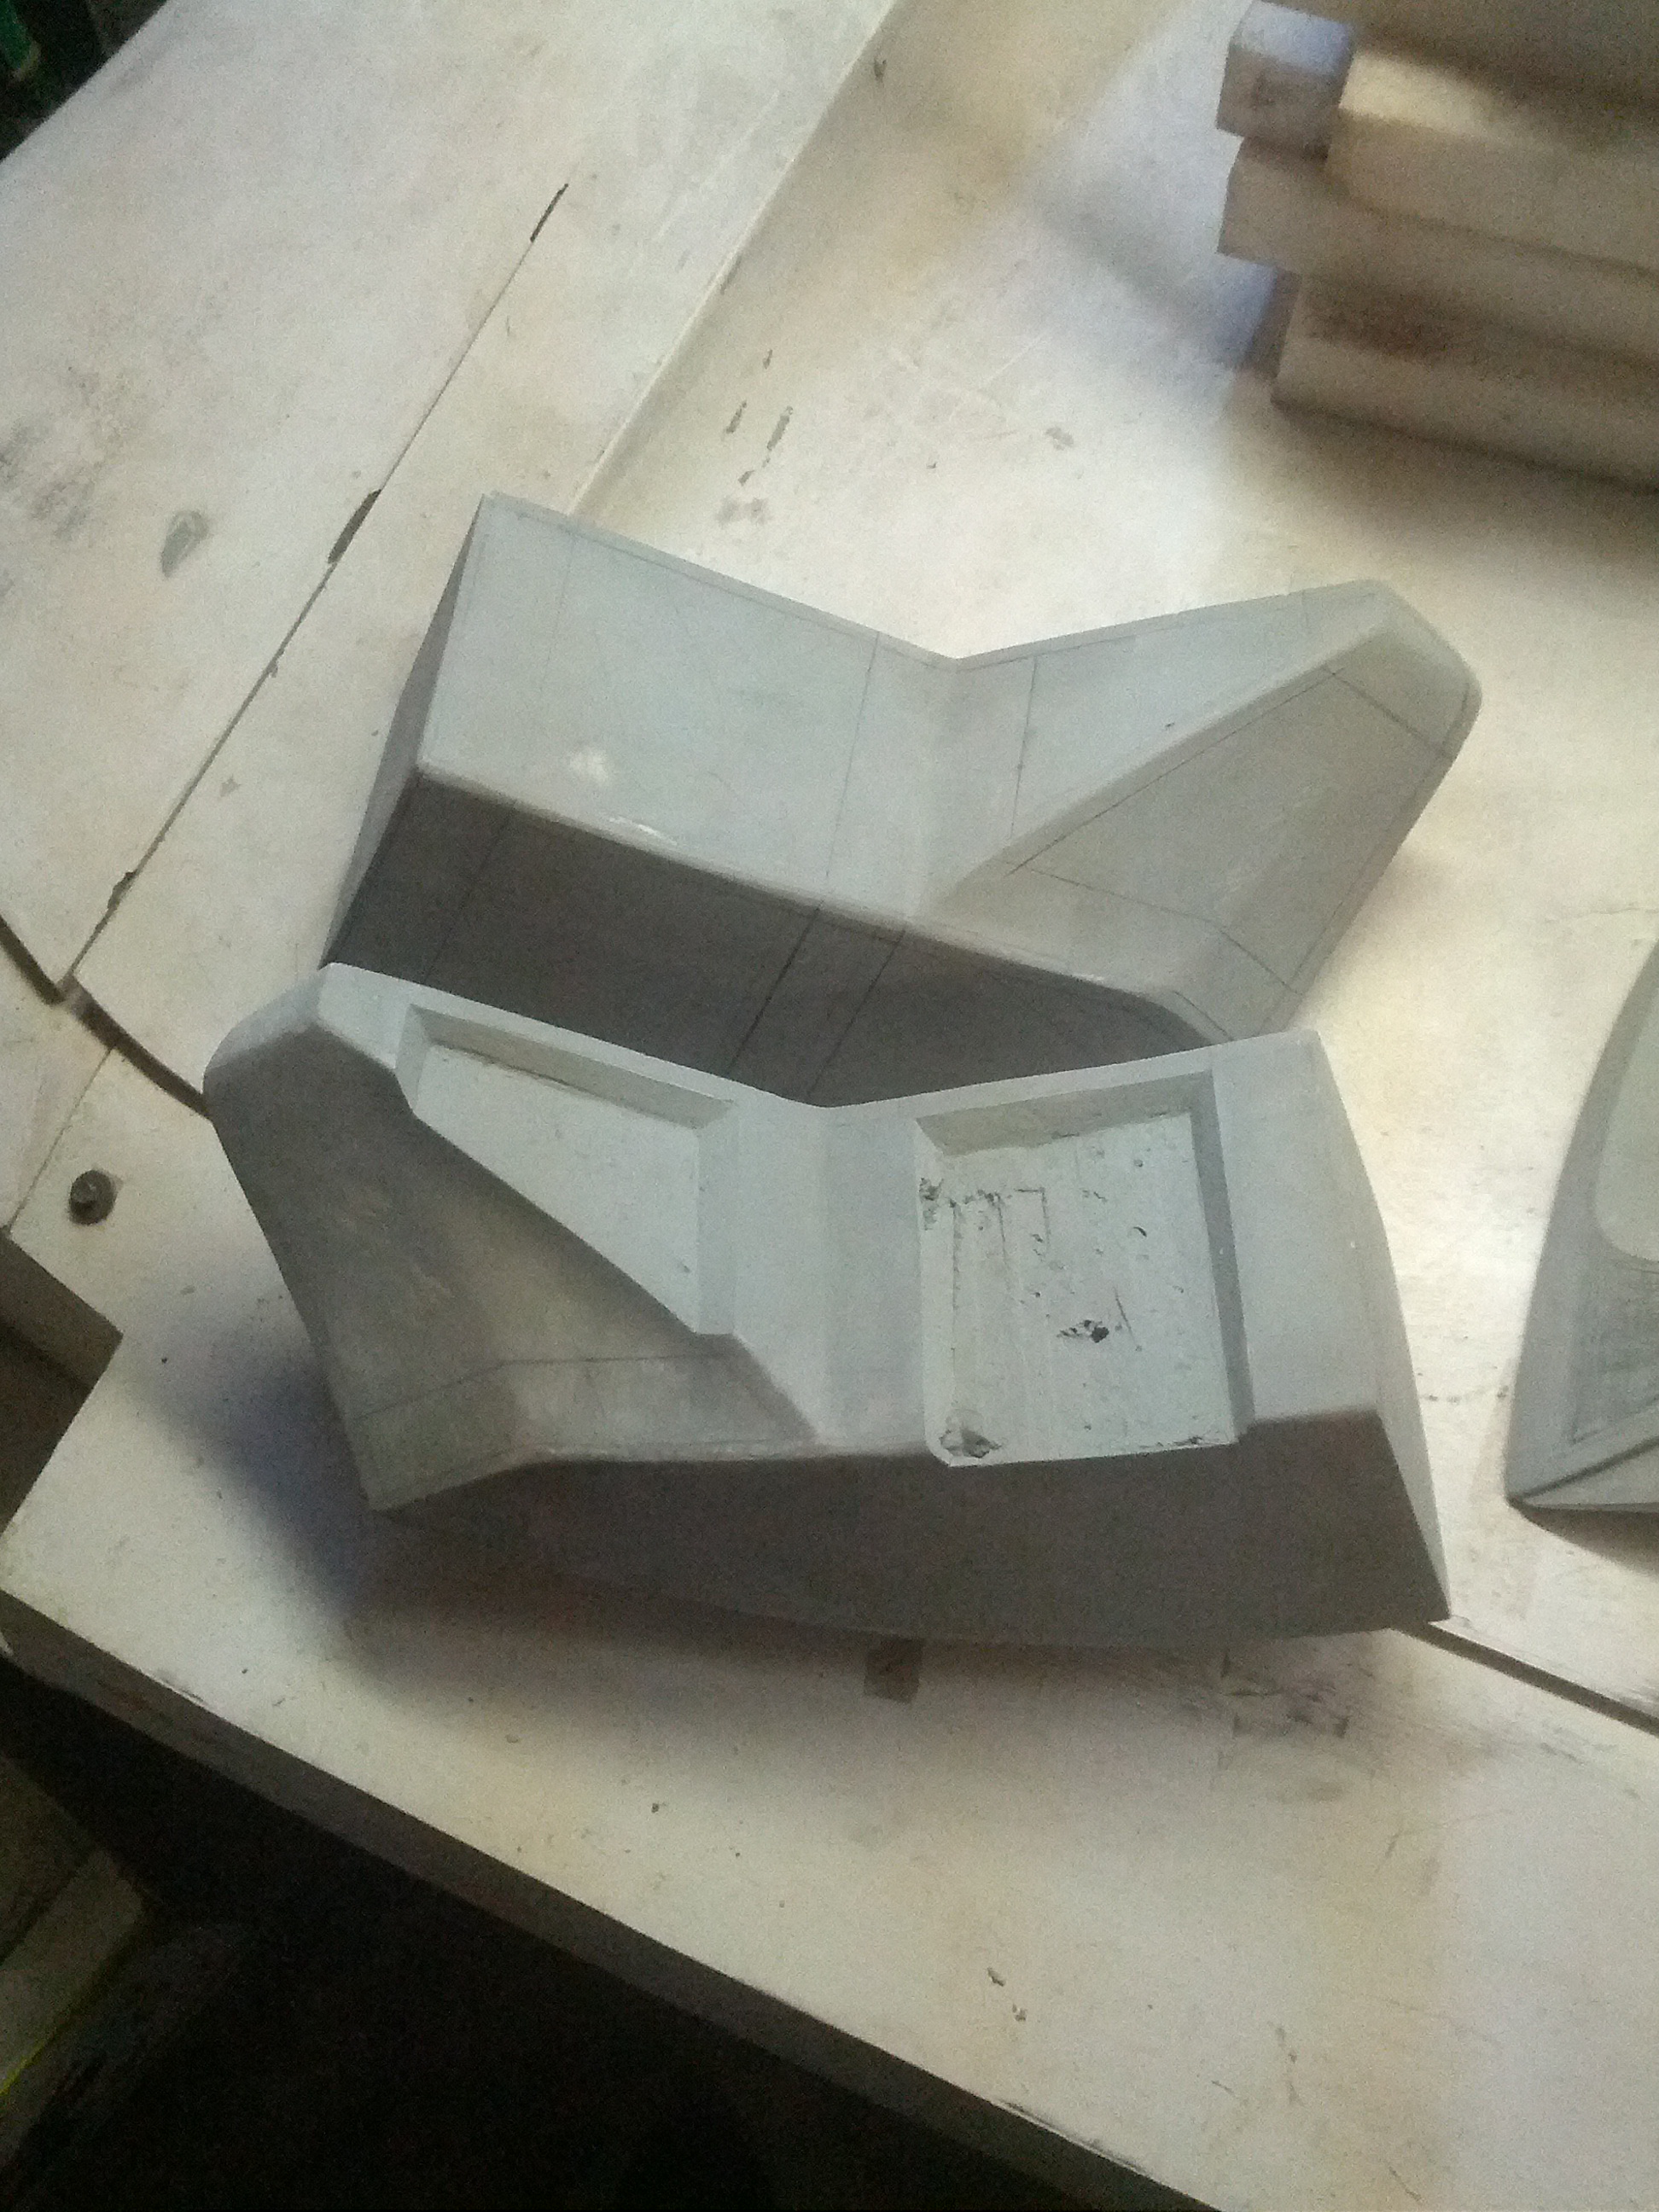
Now that the final shape of the buckets had been finalized and fitment of them
is nice and flush to the surface of the body with good mating to back (surface
of the bucket) next thing was to make a recess in the back of the light buckets
for water to drain so that would not stand between the quarter panel and the
bucket it self. Not that it would make much difference if rust is concerned as
its all plastic but also to make a recess to be able to route wires from buckets
into inside of the body.
To make a uniform cutout of uniform depth only on side was carved out at a time
thus making uniform indentation. The cutouts where full of voids and holes from
when initially making the plug. so they where refilled and sanded down to
uniform depth and perfectly flat surface before moving on to next surface.
Picture of left bucket from bottom
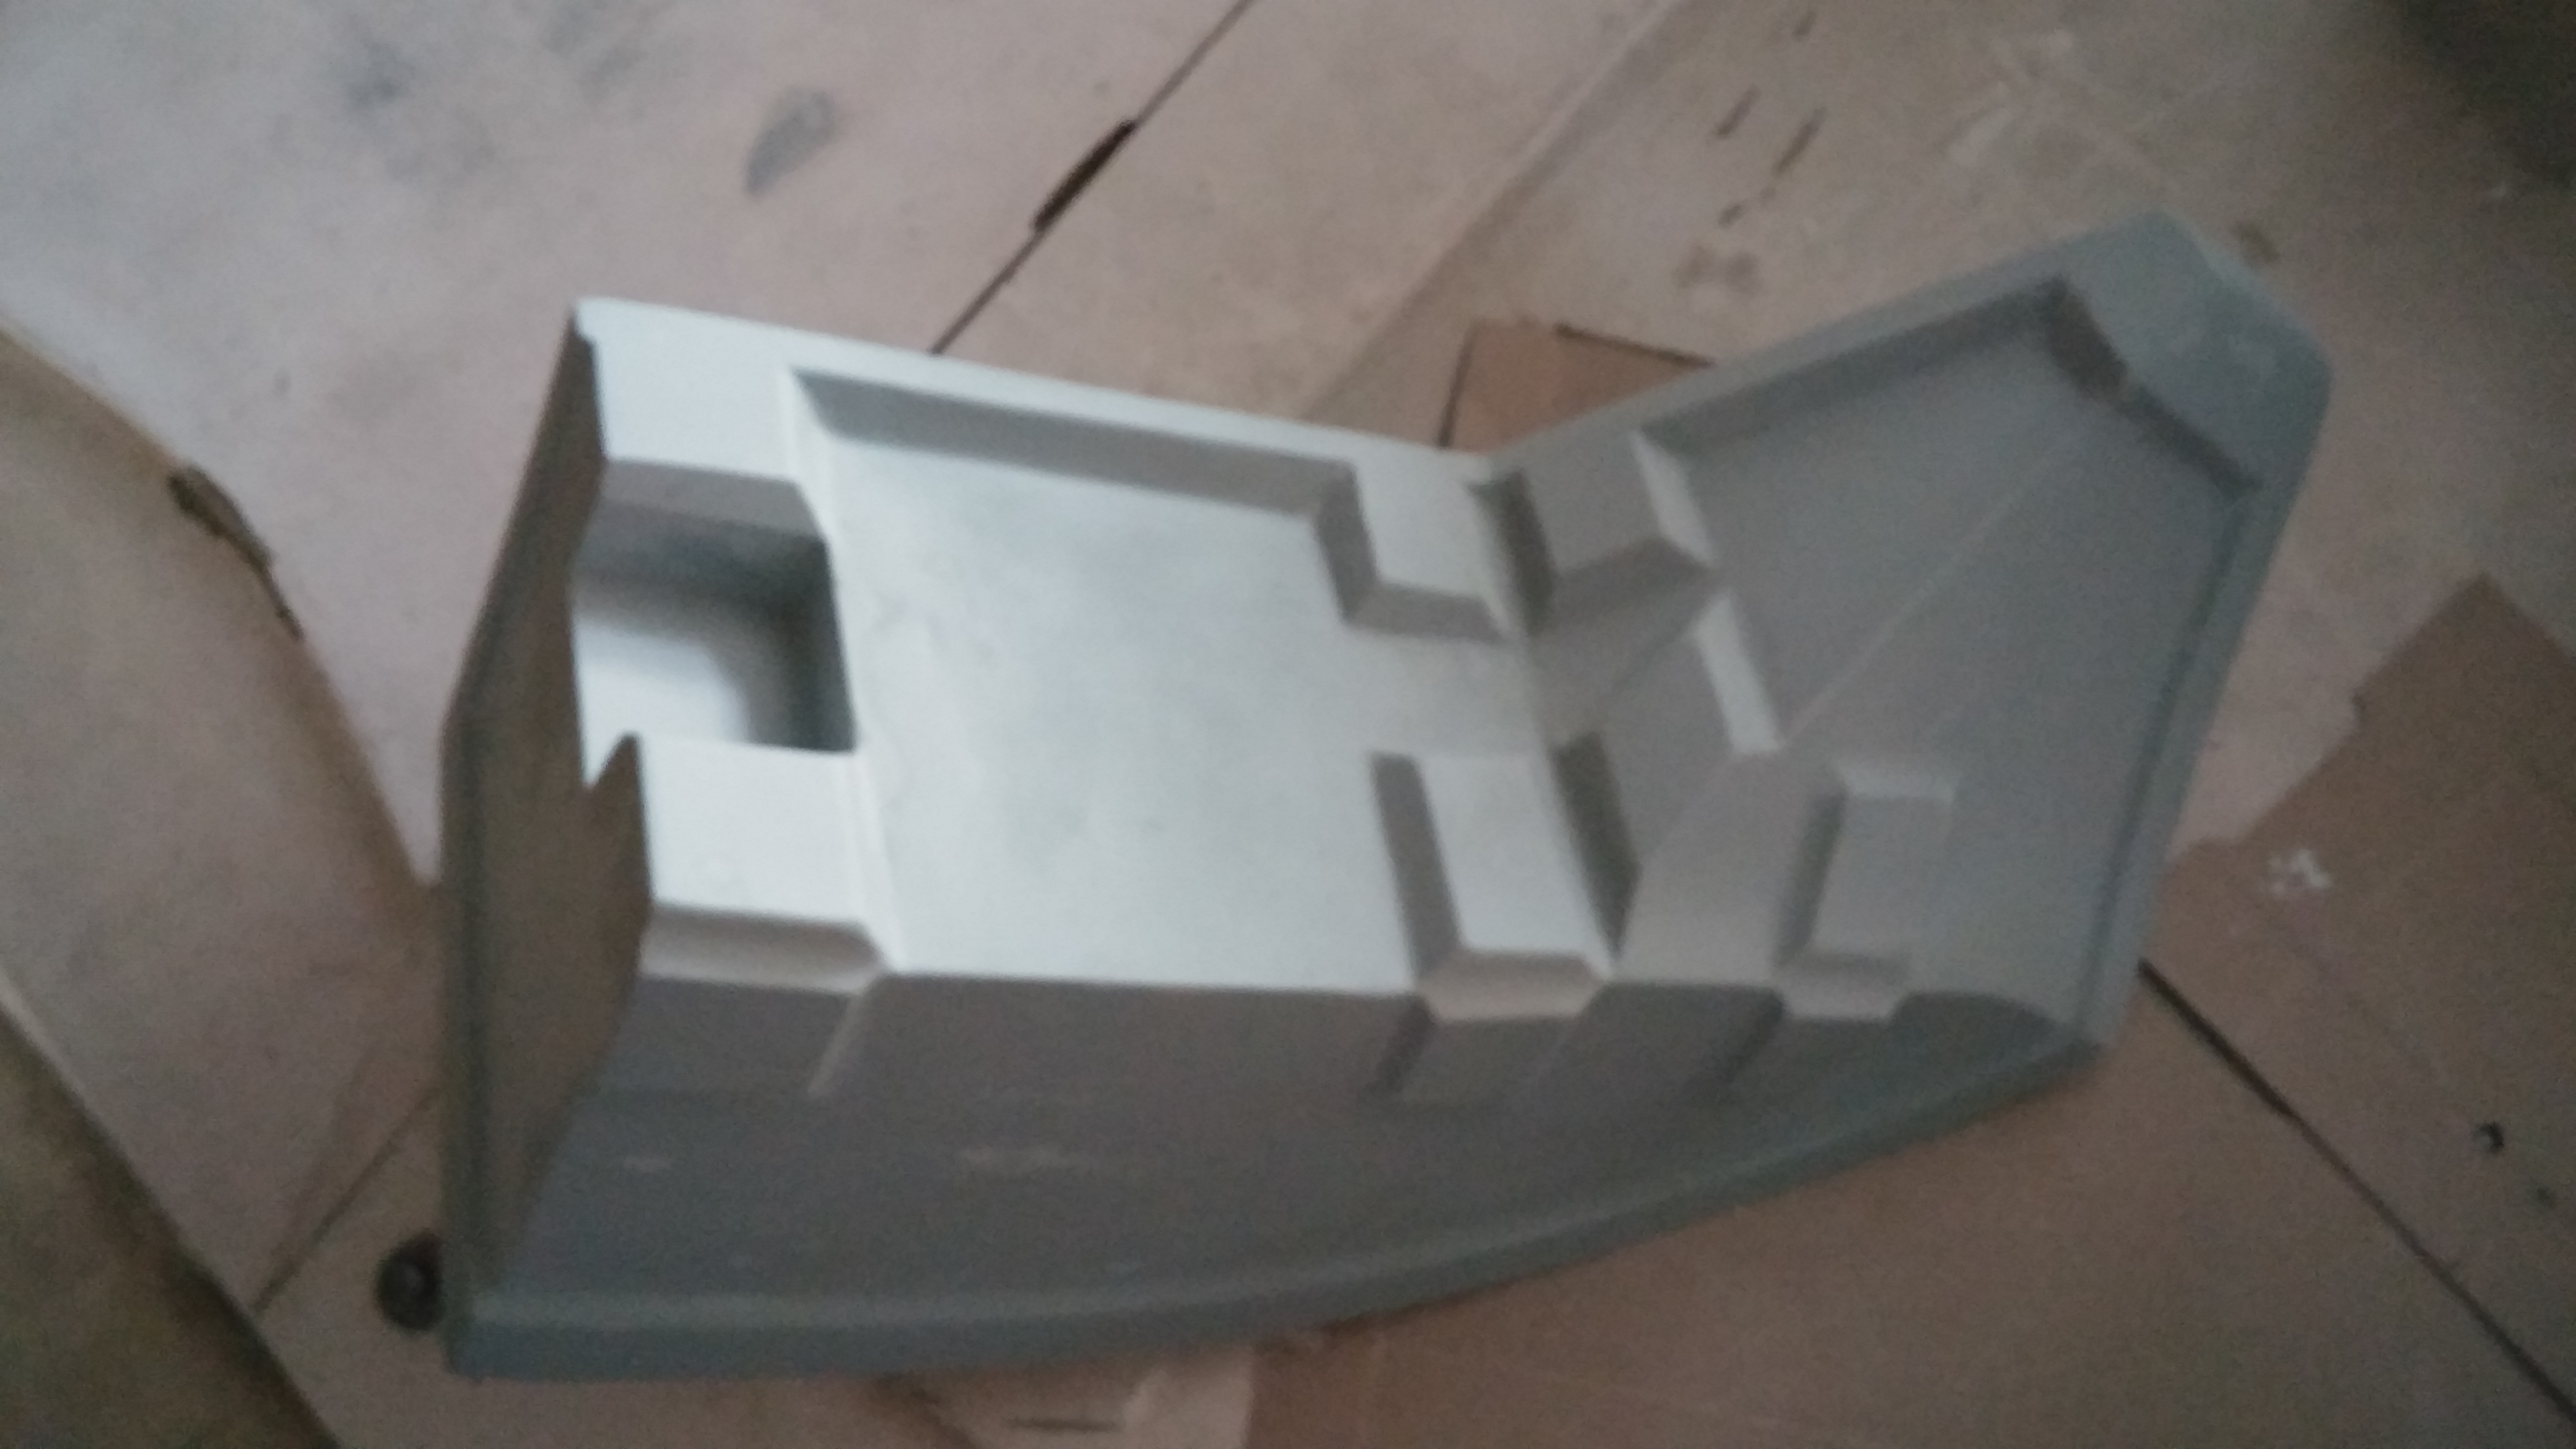
When all of the mating surfaces to the bucket recess in the quarter panel where
finished, the bucket ended up with a lip all the way around to possibly have
thin foam glued and filling in any gaps between the bucket and quarter panes
which would also prevent water going down behind the bucket and the knobs are of
original shape which will mate directly to the bucket cavity and serving as a
way to bolt the bucket into the quarter panel.
As the light is / will be made using LED's. there will be a large board
with the LED's that will be mounted inside the bucket giving internal rigitty
around the lenz so that fastening/glue holding the lens to the bucket would not
be the only thing that holds shape of the light together and keeps the lens
fastened to the bucket.
However one decision is still to be made is to provide access door on back of
the bucket for wiring up the light and electronics controlling it or simply have
wire pig tail that would connect into a harness.
|